Web3: Constant product market maker
An introduction into the basics of Machinations while you will build a simple constant product market maker. You can organize the nodes as you like.
This tutorial will introduce you to the basics of Machinations while you will build a simple constant product market maker.
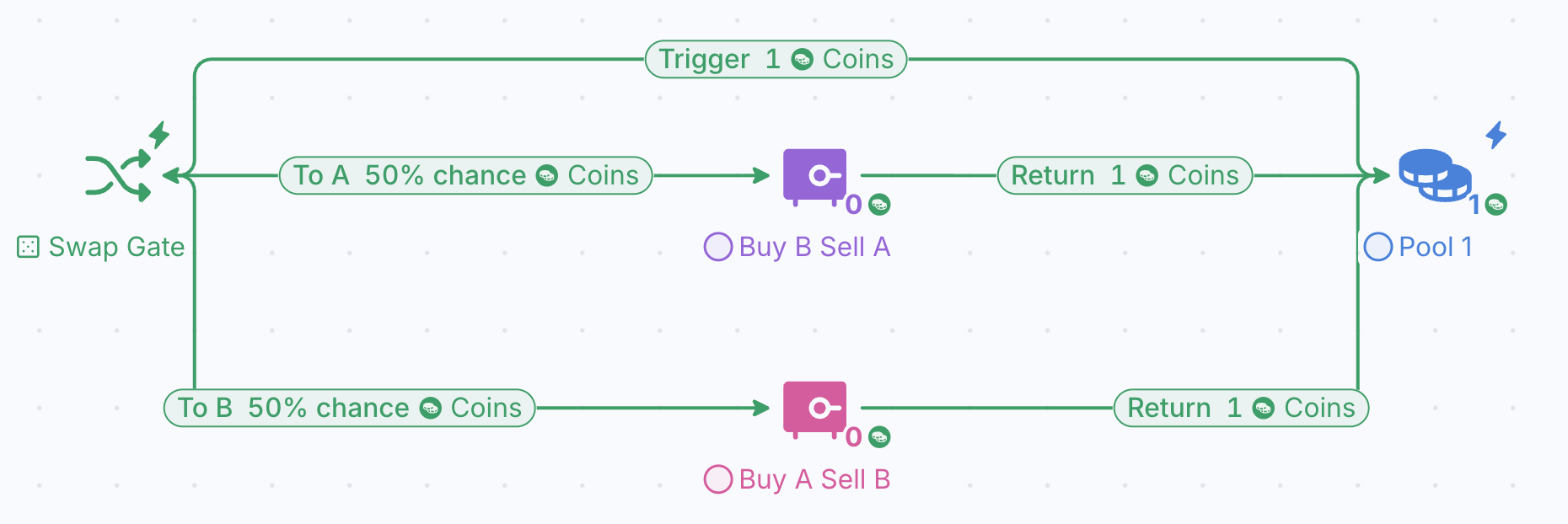
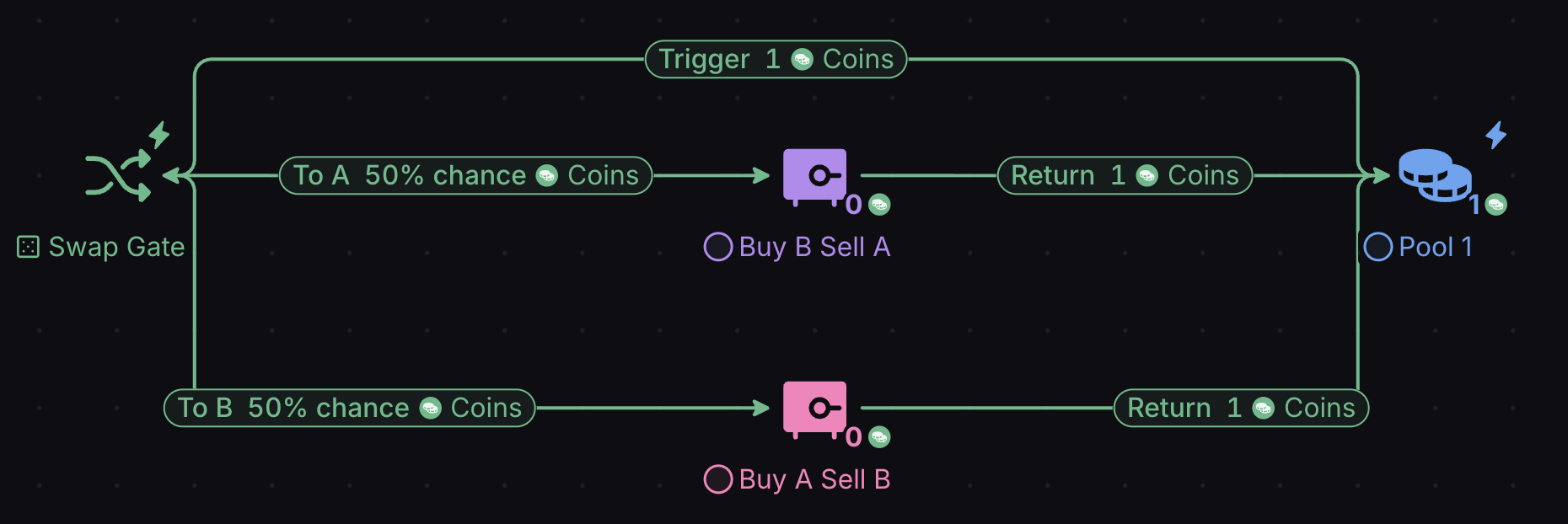
Our first step is going to be learning to build a Trigger
These triggers will help us circle between different actions in our diagrams. You can organize the nodes as you like, but it will be easier to follow along if you follow our design.
Step1:
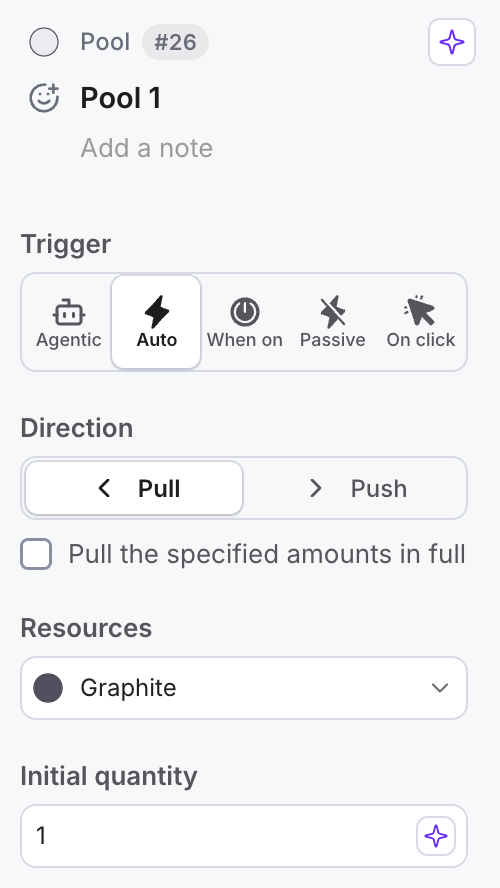
Place Pool 1 on the diagram and adjust the settings of the pool to the following:
- Trigger = Auto
- Direction = Pull (default)
Initial quantity = 1
Step 2:
Place a Gate beneath the pool with the following settings:
- Trigger = Auto
- Direction = Pull (default)
- Distribution = Random (we want the trigger to randomly choose which pool it sends the 1 resource down)
Step 3:
Connect a resource connection from Pool 1 to the Gate, with the following settings:
- Type = Number, value 1
Keep in mind the direction of flow = From Pool1 to the Gate.
Step 4:
Place 2 more pools on the diagram beneath the gate, keep their function settings at default but change their Labels. Their settings should look like.
- Trigger = Passive
- Direction = Pull
- Initial quantity = 0
- Label Pool2 : Buy B Sell A
- Label Pool3: Buy A Sell B
Step 5:
Connect a resource connection from the Gate to Pool 2. Settings:
- Type = Chance, value 50 (a 50% chance)
Keep in mind the direction of flow = From Gate to the Pool 2.
NOTE: the value in the resource connections, when connecting a GATE to a POOL, depicts the PROBABILITY of resources being sent down that connection.
Step 6:
Connect a resource connection from the Gate to Pool 3.
- Type = Chance, value 50 (a 50% chance)
Keep in mind the direction of flow = From Gate to the Pool 3
Step 7:
Connect Pool 2 to Pool 1 with a resource connection
- Type = Number, value 1
Keep in mind the direction of flow = From Pool 2 to the Pool 1.
NOTE: This sends the resource back to pool 1 so it can trigger another swap, completing the cycle of the swap trigger.
Step 8:
Connect Pool 3 to Pool 1 with a resource connection
- Type = Number, value 1
Keep in mind the direction of flow = From Pool 3 to the Pool 1.
Great Job! It’s time to test it out. Press play and you should see
Step 1: Pool 1 ——sends resource ——> Gate ——— sends resource ——→ Pool 2 or 3
Step 2: Pool 2/3 —— sends resources ——> Pool 1
If everything works as it should, we now have a swap trigger. Whenever a resource hits pool 2 or 3, we will make it so that it triggers a swap function that we are going to learn to build.
Want to make it look prettier? You can click on any node or connection and change the color on the floating toolbar above it. Want to group them together? Highlight all of the nodes, right-click and select group. This is an interesting styling option and way of keeping your diagram organized.
You have built a swap trigger: a loop that sends one resource through a Gate to Pool 2 or Pool 3 at random and back to Pool 1, ready to start a swap each time a resource lands.