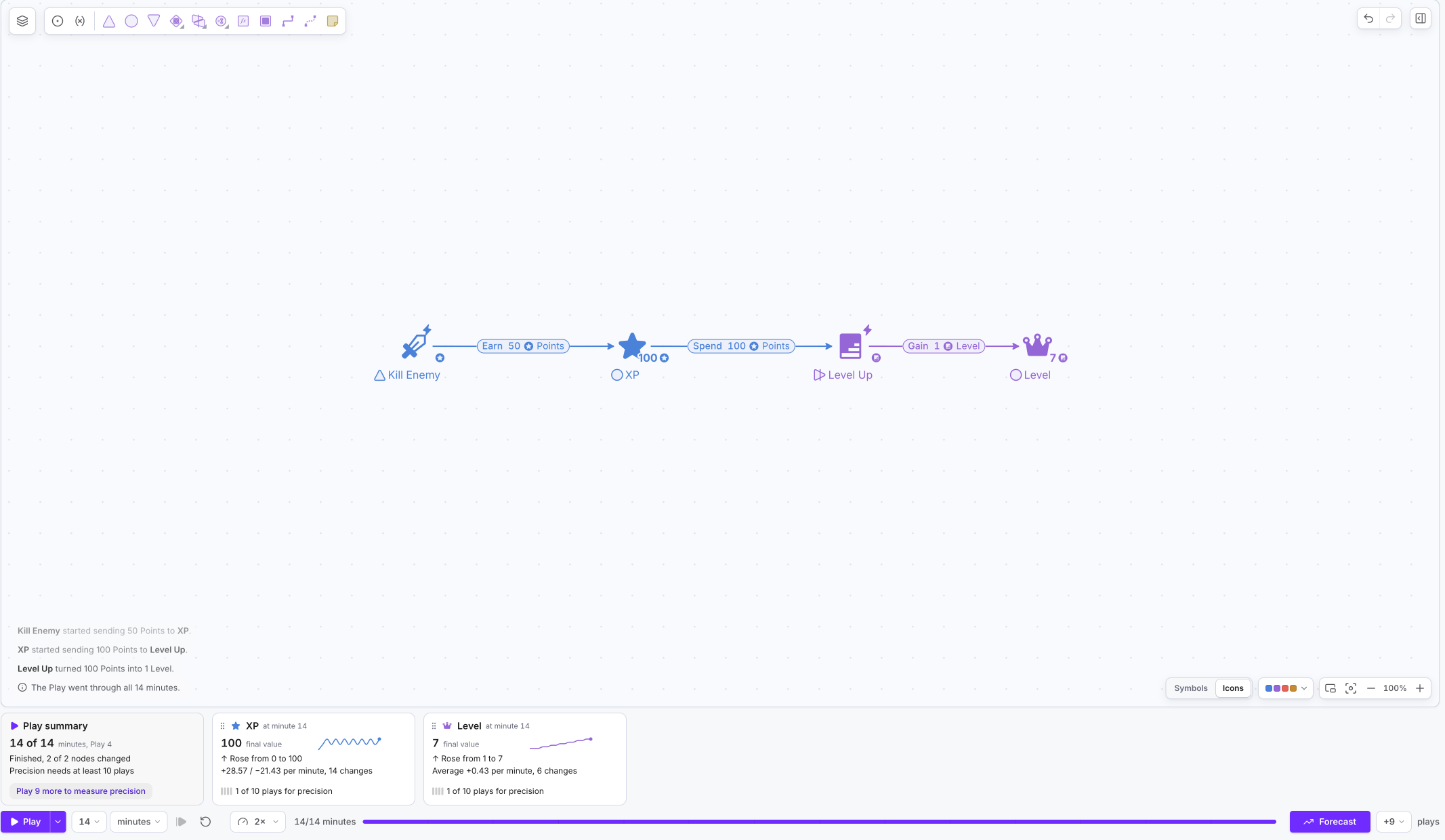
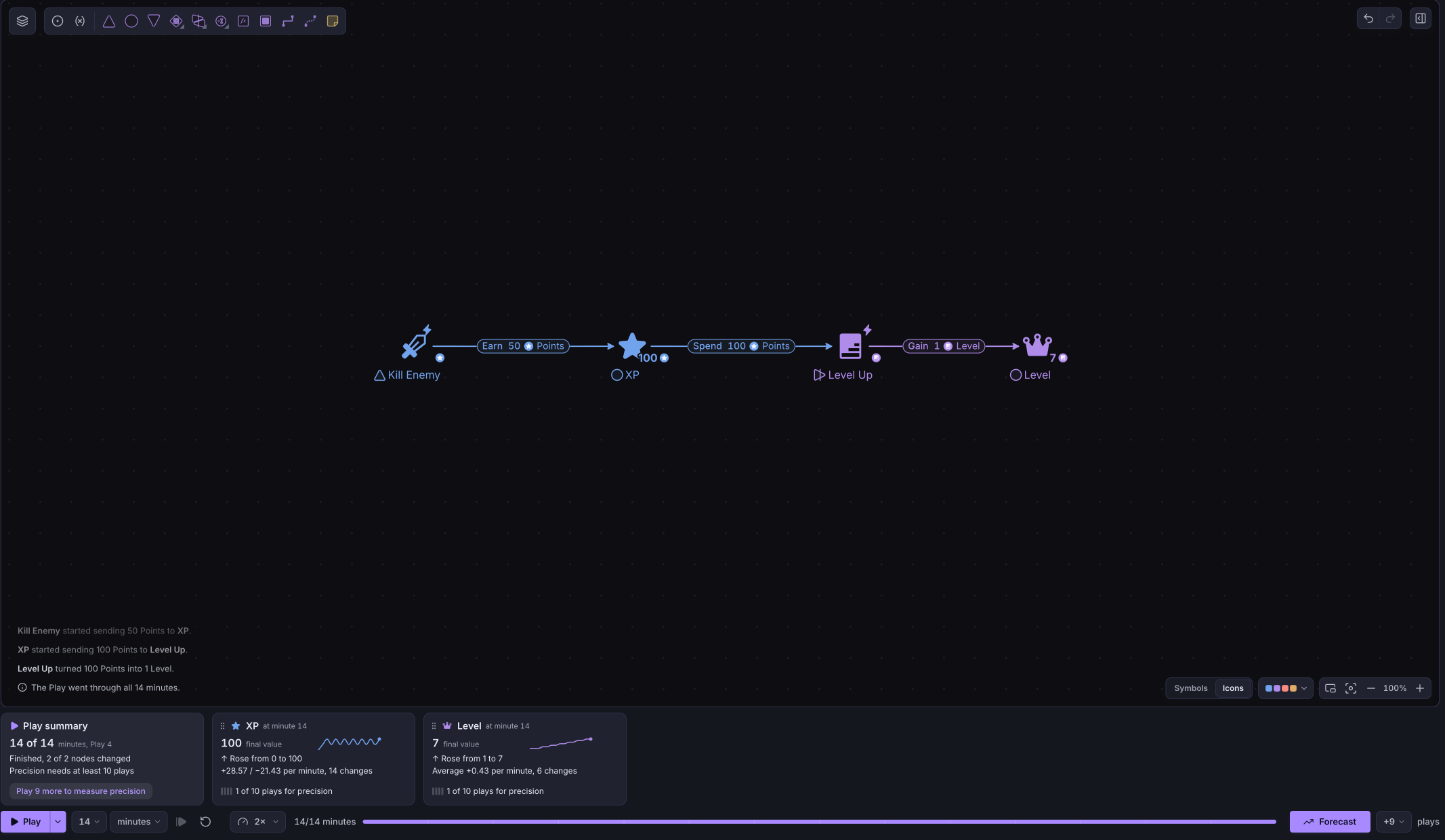
Update level-up cost
Learn how to increase the level-up cost, check when the player has reached a specific level, and add randomness to the model.
In this part of the tutorial, you will learn how to increase the level-up cost, check when the player has reached a specific level, and add randomness to the model.
Increasing level-up cost
Currently, players can level up as long as they have 100 XP to level up, and they need to spend 100 XP regardless of whether they are in level 1, 100, or 20000. In most games, the cost to level up increases as the player’s level rises. Therefore, in this section, you are going to see how components can be modified with State Connections.
First, you are going to create a basic linear increase in the cost. The cost will always be
Cost = 100 * CurrentLevel
When the formula requires just multiplying a value from another node, you can use State Connections. State Connections can change existing elements on your diagram. This is super useful if you want to use formulas to adjust the behavior of a Resource Connection or a pool, for example.
- Click the State Connections in the toolbar or use the keyboard shortcut “alt + c”.

- Click on the “Level” pool to set the origin point.
- Click on the Resource Connection between the “XP” pool and the “Level Up” converter so that the State Connection points to the Resource Connection.
- With the State Connection selected, drag its label anywhere on the canvas to reshape the line so it does not run over other components.
- Select the State Connection and type “Raise cost” into the label at the top of the Properties panel (it reads “Add a label” on a new component).
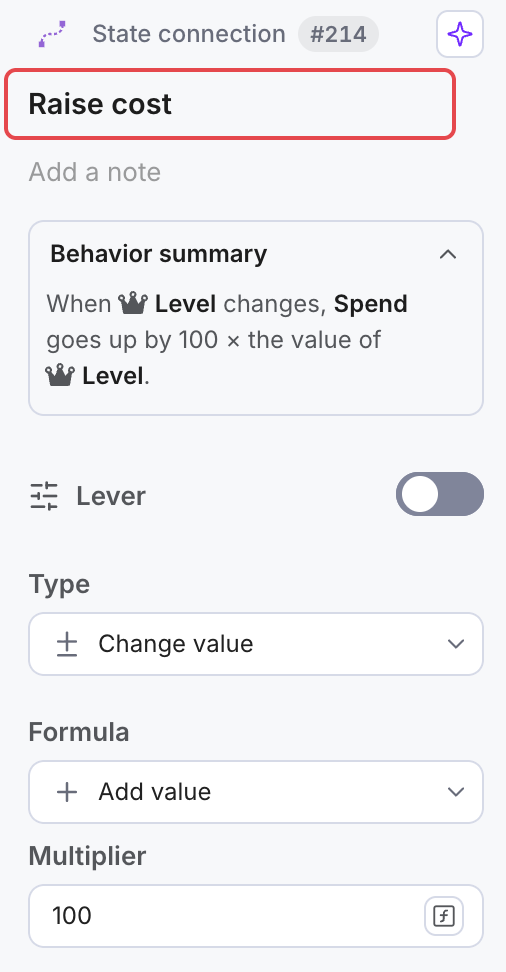
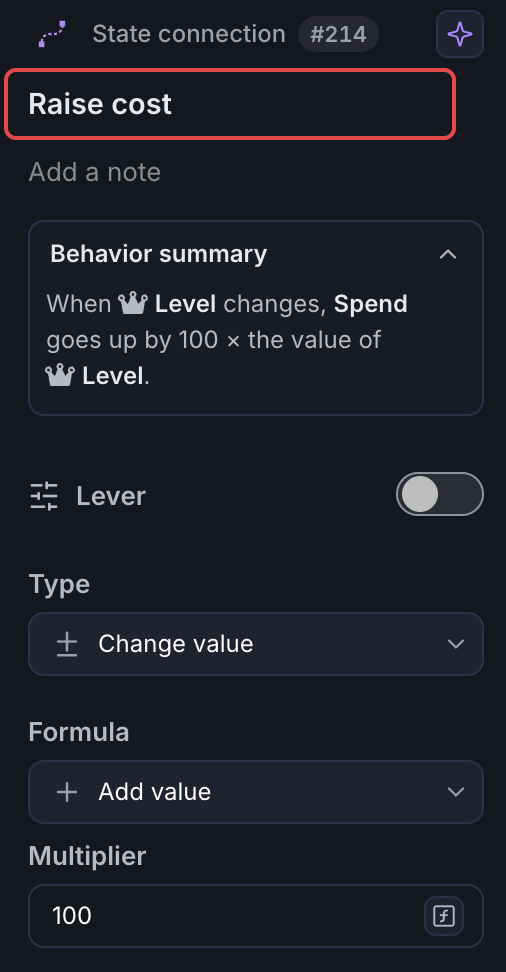
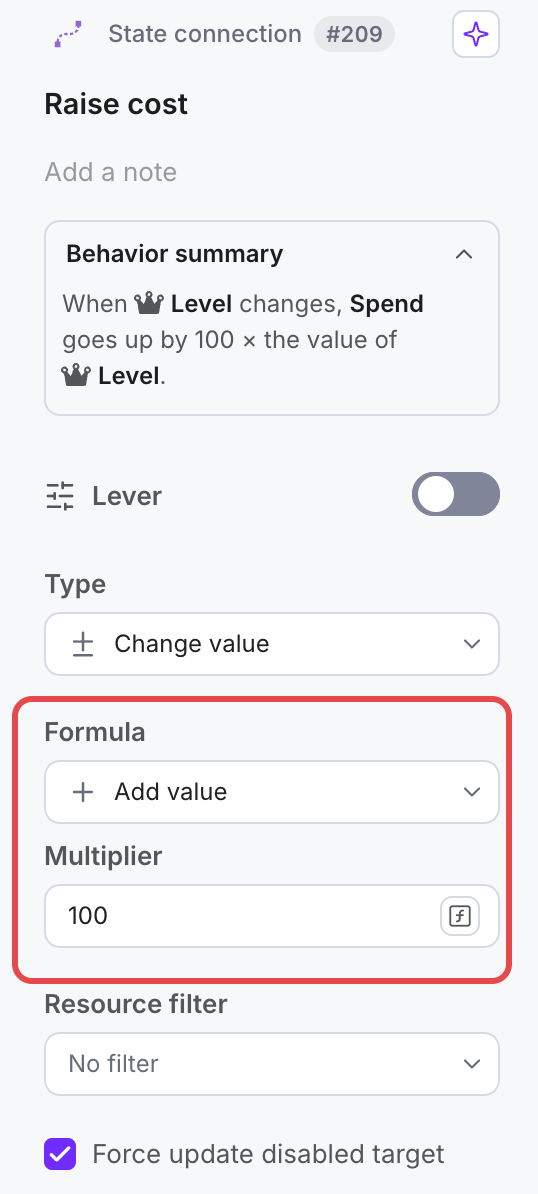
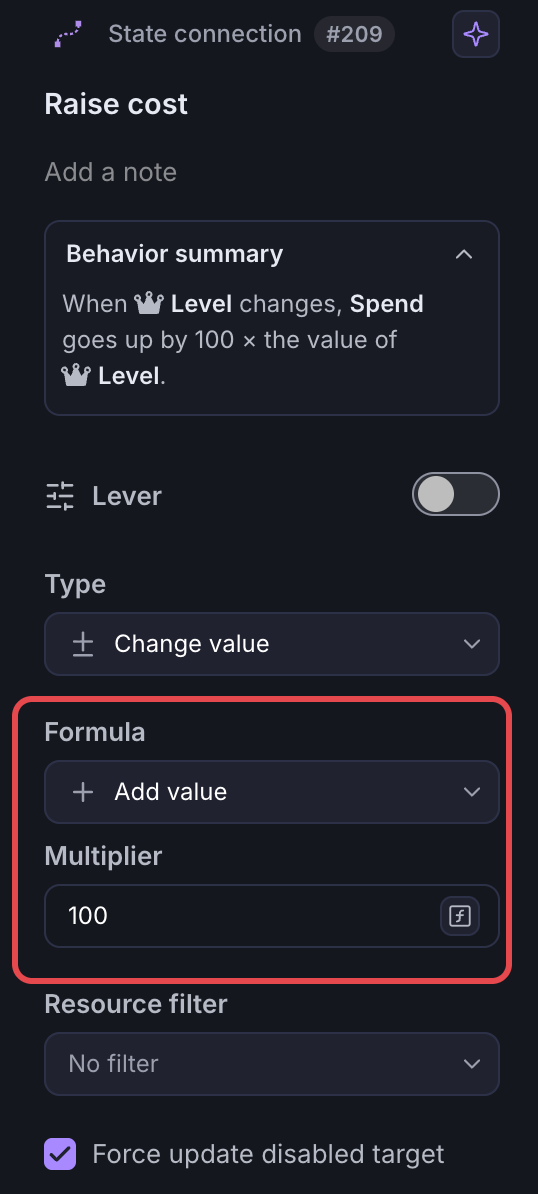
- With the State Connection selected, in the Properties panel leave Type on “Change value”, set Formula to “Add value” and type 100 into Multiplier. The connection now adds 100 times the Level to the cost, which increases the level-up cost by 100 for each level a player gains.
- Press “Play” and see how the cost is updated as the player levels up.
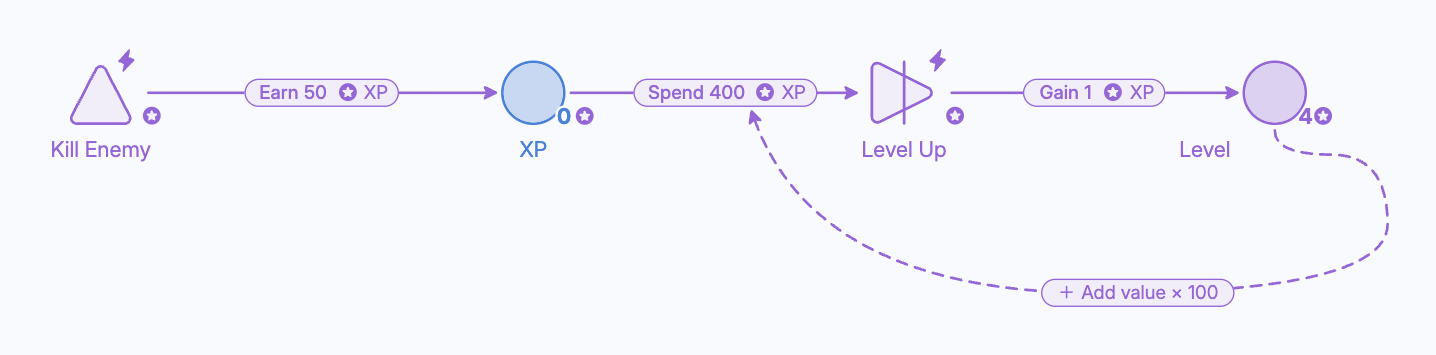
- There is an issue: the cost to level up to level 2 is 200, when it should be 100. This is because the Resource Connection still has the value “100” in its formula.
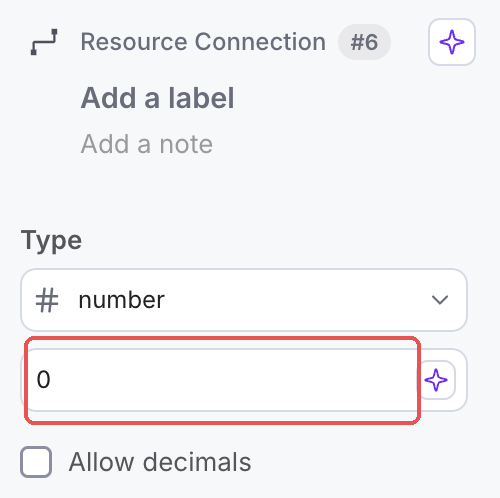
- Click on the Resource Connection before the converter.
- Leave Type on “Number” and type “0” into the amount box under it so that the cost will depend entirely on the values given by the State Connection.
Adding Randomness
One of the most important features of Machinations is adding randomness, which is what makes Monte Carlo Forecasts useful. Let’s assume that the amount of XP earned by killing enemies is a random value between 1 and 50.
One way to add randomness is by using the keyword “D” followed by a number. For example, D12 simulates a 12-sided dice, and each time it is rolled it will return a number between 1 and 12. In our level progression system we want the player to earn between 1 and 50 XP each time they kill an enemy, so we are going to use a 50-sided dice.
- Select the Resource Connection after the “Kill enemy” source.
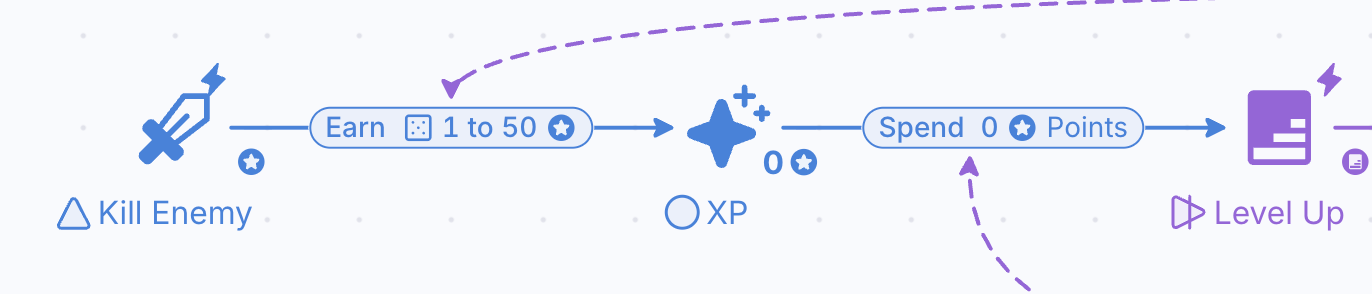
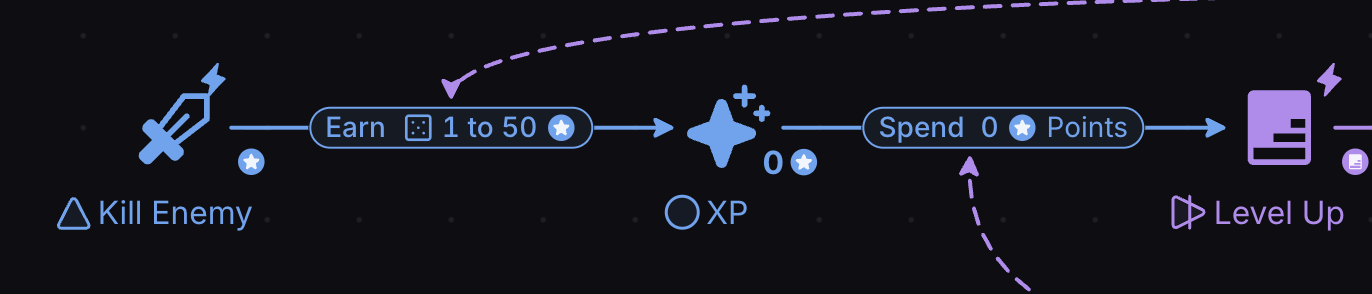
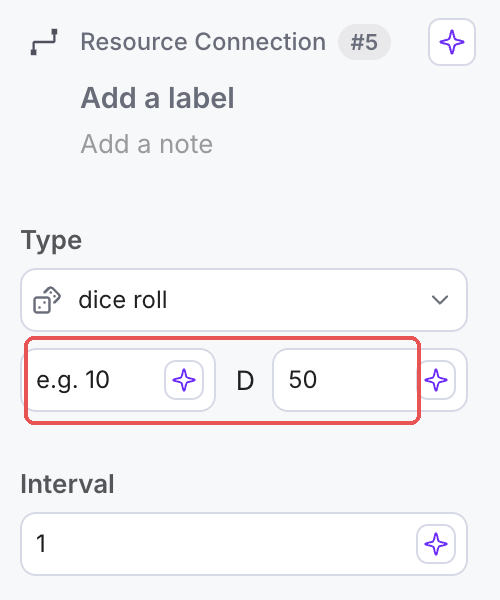
- Set Type to “Dice roll” and write 50 after the D (the dice box), which is the same as “D50”.
- Press “Play” and observe how the player earns a random amount of XP, between 1 and 50, every minute.
Now, we want to detect how long it takes the player to reach level 7. In this model, we defined that the player will earn up to 50 XP every minute, so we want to know how many minutes or steps it takes the player to get to level 7. To do this, we want the Play to end when the level is 7.
- Select the End Condition in the toolbar or use the keyboard shortcut (e).

- Click in the canvas next to the “Level” pool to place the end condition in the diagram.
- With the End Condition selected, type “Max Level Reached” into the label at the top of the Properties panel (it reads “Add a label” on a new component).
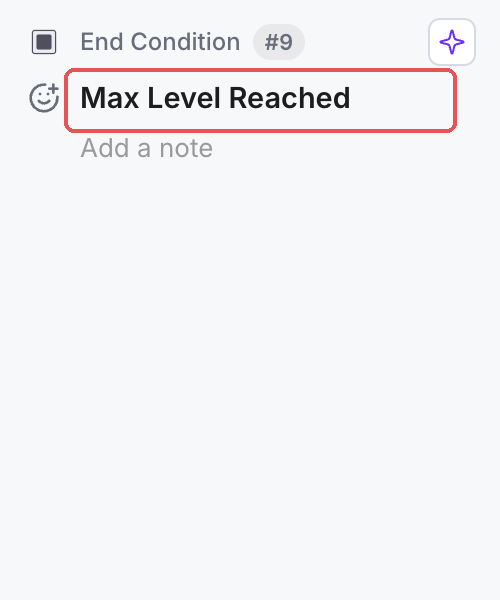
- End Conditions will work when a specific condition (or at least one condition) is reached in the current state of the diagram. To check this condition, you will need a State Connection. Select the State Connection in the toolbar and click on the “Level” pool to start the connection.
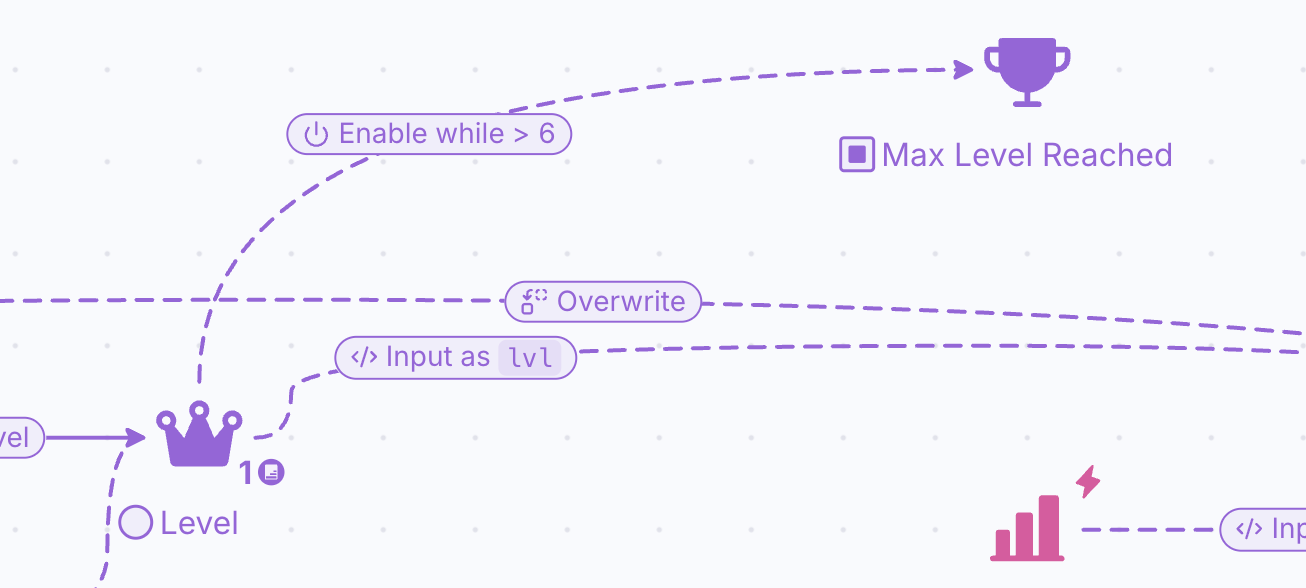
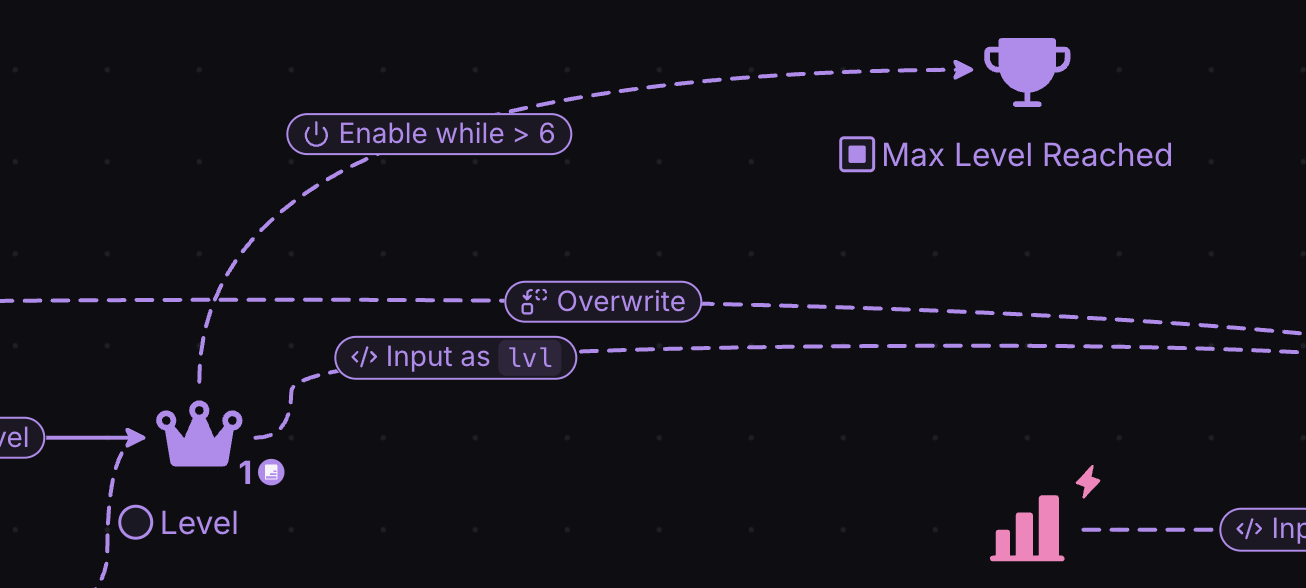
- Click on the End Condition so that it becomes the target of the State Connection. You will see that the State Connection will be created with “>0” in its formula.
- Press “Play” and see how the diagram is working. Why is the Play ending as soon as it starts? And why is the End Condition blinking? This is because the condition in the State Connection is “>0”, which can be thought of as “If the Level is greater than 0, then finish the Play (because the Max Level was reached)”. The level already is greater than 0, so the condition was reached.
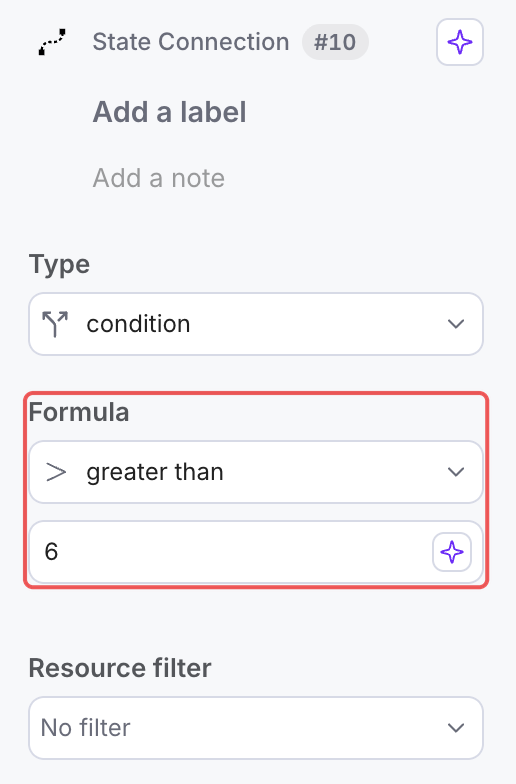
- The condition is wrong because we have to finish the Play when the level is 7. To do this, select the State Connection, leave Type on “Enable while”, and set Formula to “Greater than” with the value 6. “Greater or equal” with 7 would work as well.
- Press “Play” to start the Play again. How many minutes (or steps) did it take the player to reach level 7? In this Play, it took 14 minutes to get to level 7 and the player still has 100 XP that were unused.