Calculating level-up costs with formulas
Discover additional components and their applications in Machinations to add more features to your level progression system.
This tutorial will introduce you to additional components and their applications in Machinations to add more features to your level progression system.
You will create more complex formulas for level-up costs and use a list of predefined values for XP earned from enemies depending on the player’s level. You will also learn how to make Forecasts for many users.
Let’s assume that we want the cost formula to have the following format:

Whenever you need to create formulas that require special mathematical operators or conditions, you can use Registers. They can alter the state of Nodes or influence the flow of Resources based on the computation of multiple inputs coming from either Nodes in the diagram or your own input during a Play.
This formula will affect the amount of resources transferred from the “XP” pool to the “Level Up” converter. However, this Resource Connection already has a State Connection that is modifying the number of resources transferred. If you want to implement this formula, you have to make the following changes in the diagram:
- Select the State Connection “Raise cost”
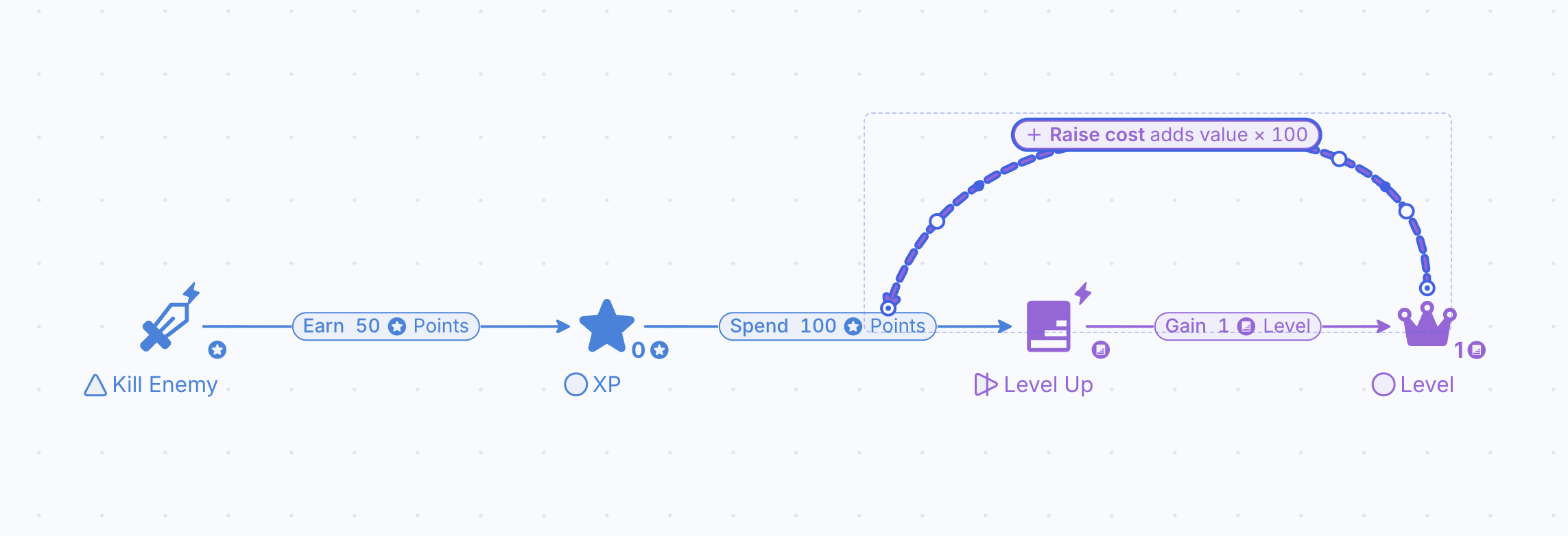
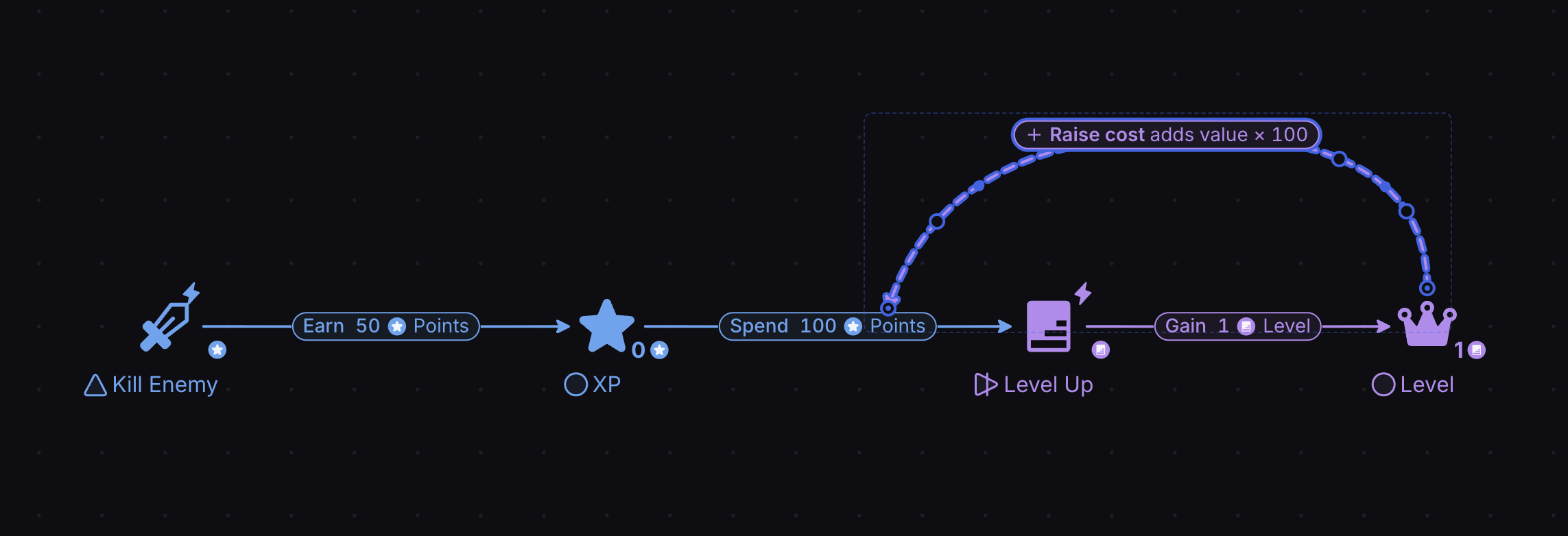
- Press “Bksp/Del” to remove the connection, or right-click it and select “Delete”.
We first need to reference the “Level” pool to implement the formula. Follow the next steps:
- Click the Register icon in the toolbar or use the keyboard shortcut (r).

- Place the Register to the right of the “Level” pool
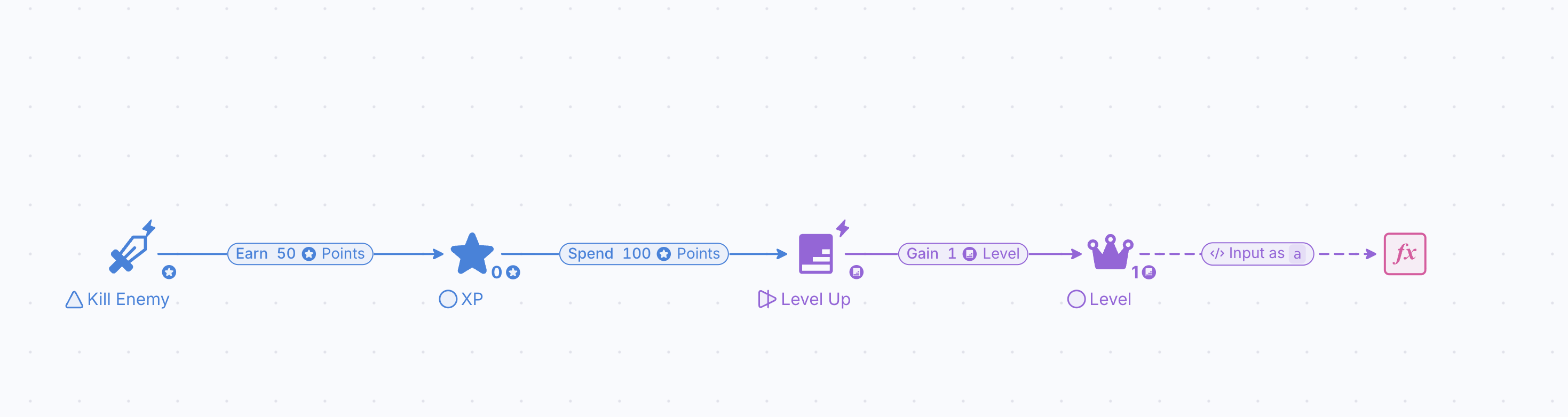
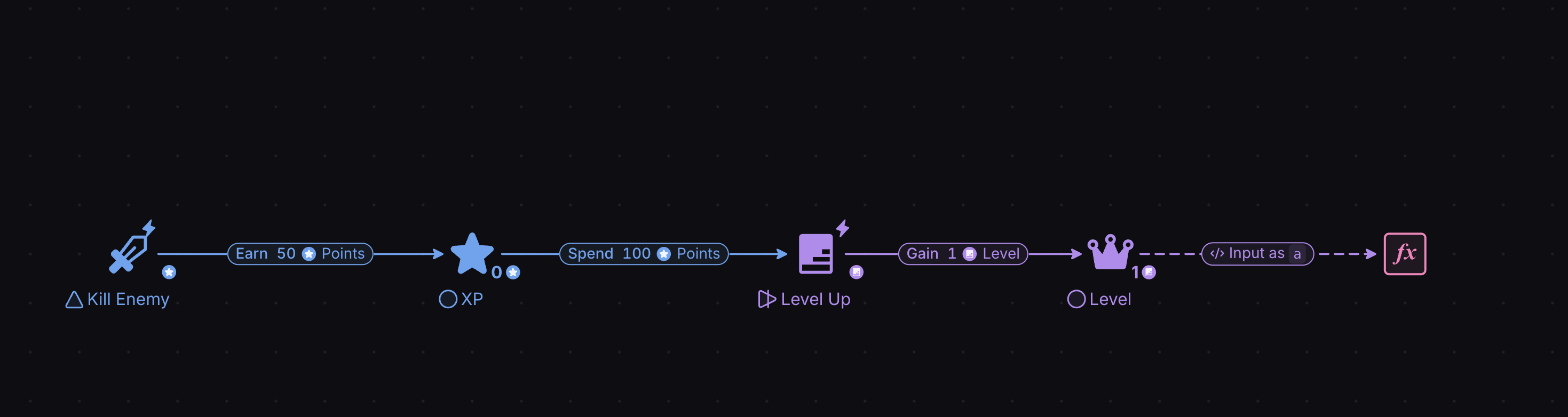
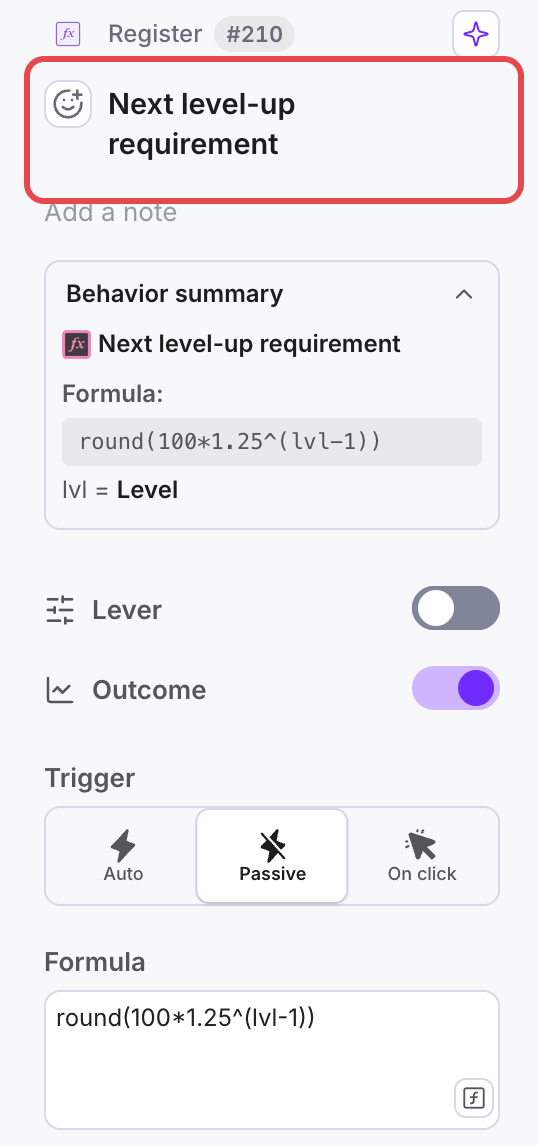
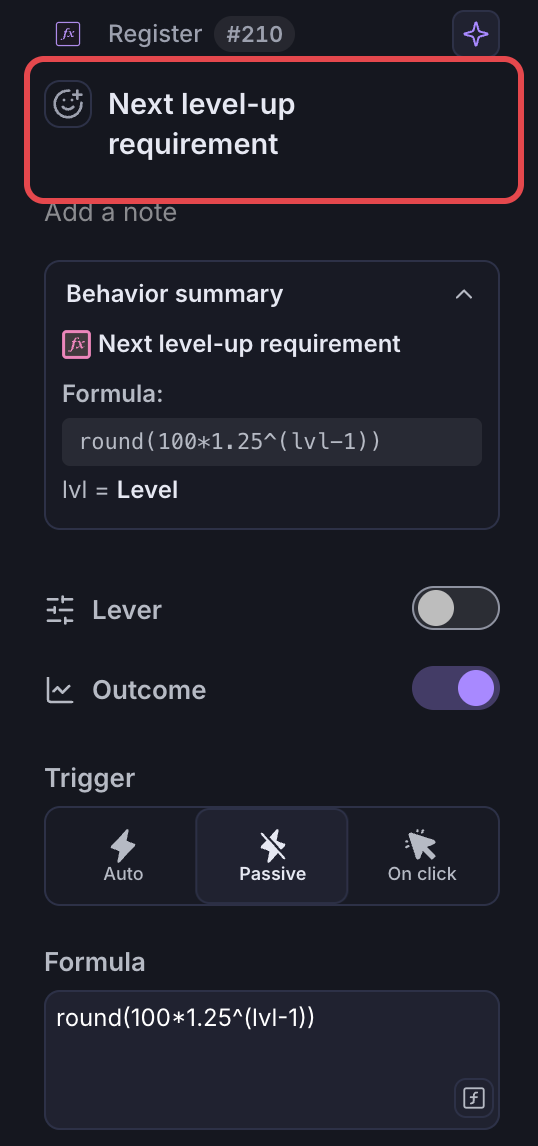
- With the Register selected, type “Next level-up requirement” into the label at the top of the Properties panel (it reads “Add a label” on a new component).
- Add a State Connection (either from the toolbar or using the shortcut “alt+c”) and click on the “Level” pool so that it becomes the origin of the connection.
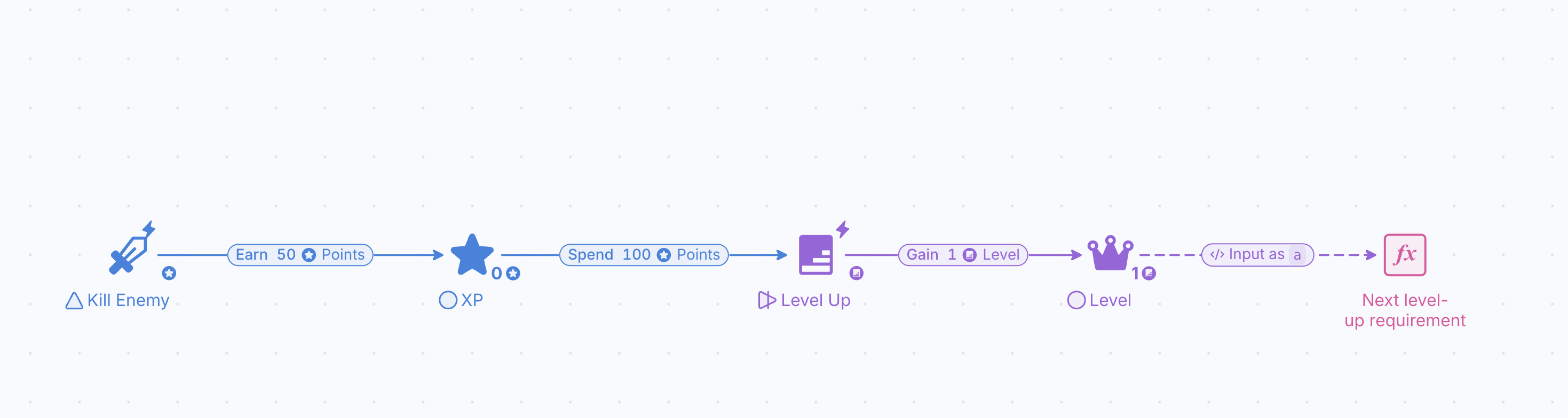
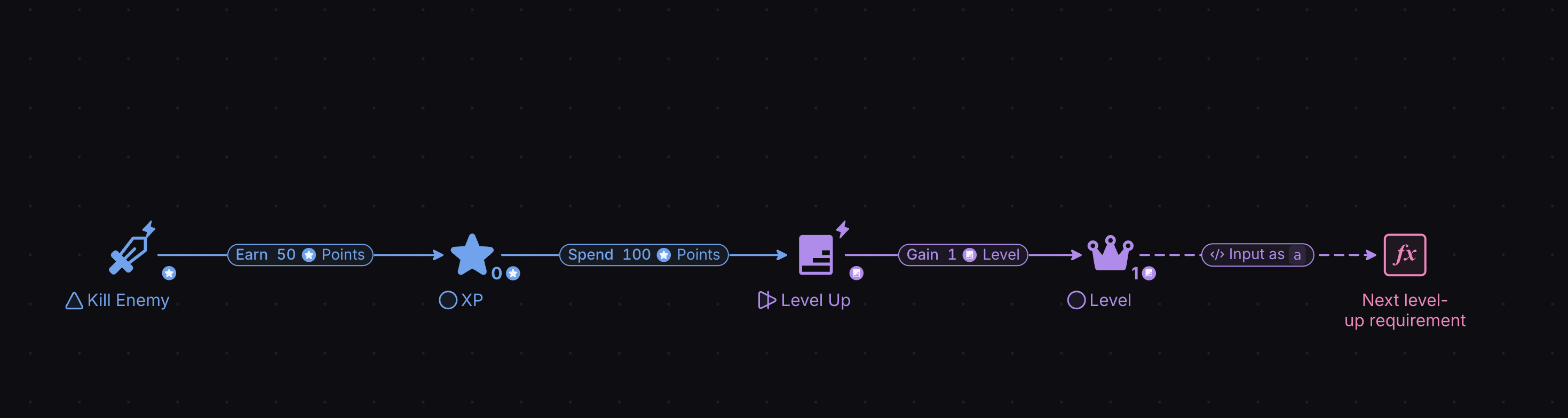
- Click on the Register “Next level-up requirement” so that the State Connection ends at the register.
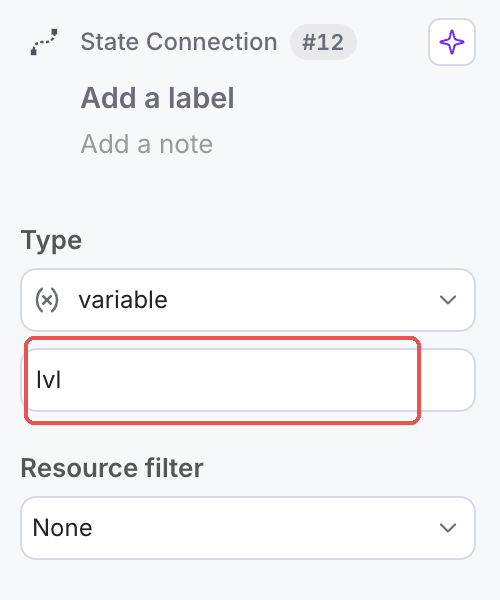
- Have you seen what happened to the State Connection when you clicked on the register? The connection has the name “a” in the box under Type. When you draw a State Connection, it will be given a variable name. By default, the variable name will be alphabetical letters – “a, b, c, d….
To make the formula easier to read, select the State Connection and, with Type on “Formula input”, type “lvl” into the box under it. State Connections that “enter” registers get the values from the connection’s origin.
- Add a new State Connection and click on the “Next level-up requirement” register so that it becomes the origin of the connection.
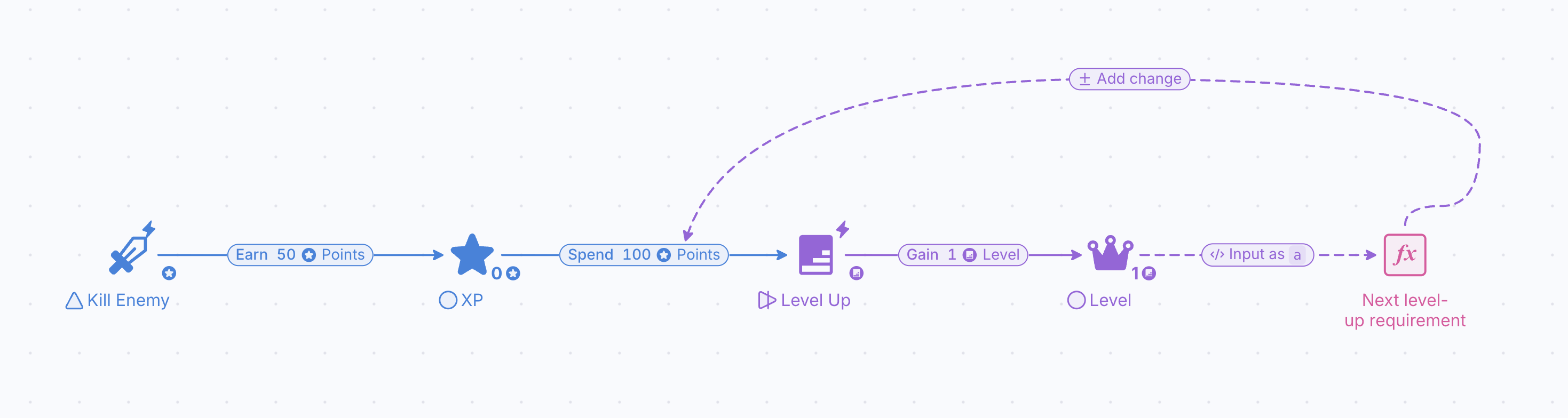
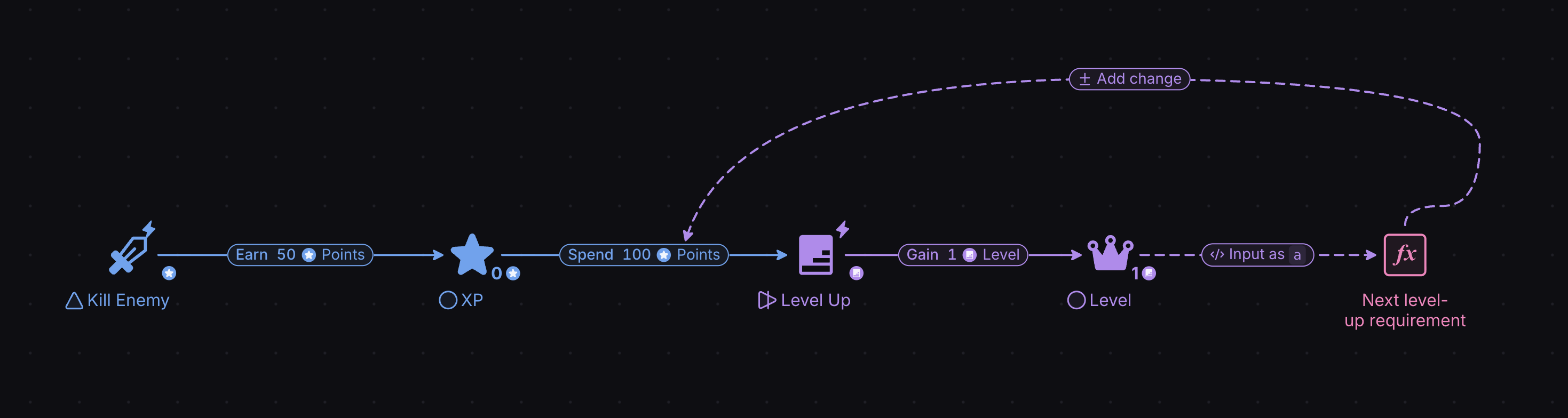
- Click on the Resource Connection between the “XP” pool and the converter so that the State Connection modifies the target Resource Connection. State Connections that “exit” registers are used to get the value from the register to be used anywhere else. (You can arrange the connection in the canvas so it does not clutter with other components).
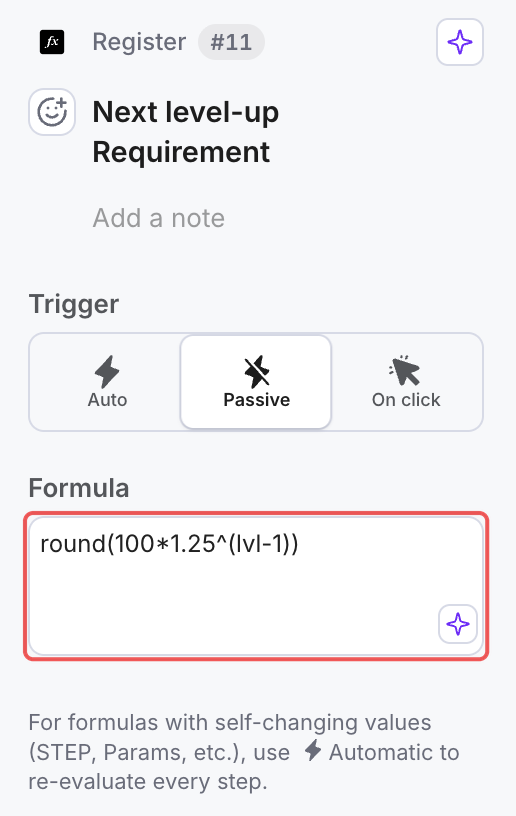
- Now in the register we must enter the formula defined in the beginning:

Previously, we need to make two considerations:
- The formula requires the value “Current Level” which is obtained from the “Level” pool. As the State Connection between the “Level” pool and the register is called “lvl”, this means that the current level can be read by using the variable “lvl”.
- Converters only work correctly when their inputs are rounded and converted into integer values. As a consequence, the formula will be inside a math.js function called “round”.
- Therefore, select the register and in the Formula field type“round(100*1.25^(lvl-1))”.
- Now in the Register we must enter the formula defined in the beginning: