Loot & Craft
In this introductory tutorial to Machinations, you will see how to craft a basic economy model for a resource management or crafting game.
In this introductory tutorial to Machinations, we will show you how to build a basic economy model for a resource management/crafting game.
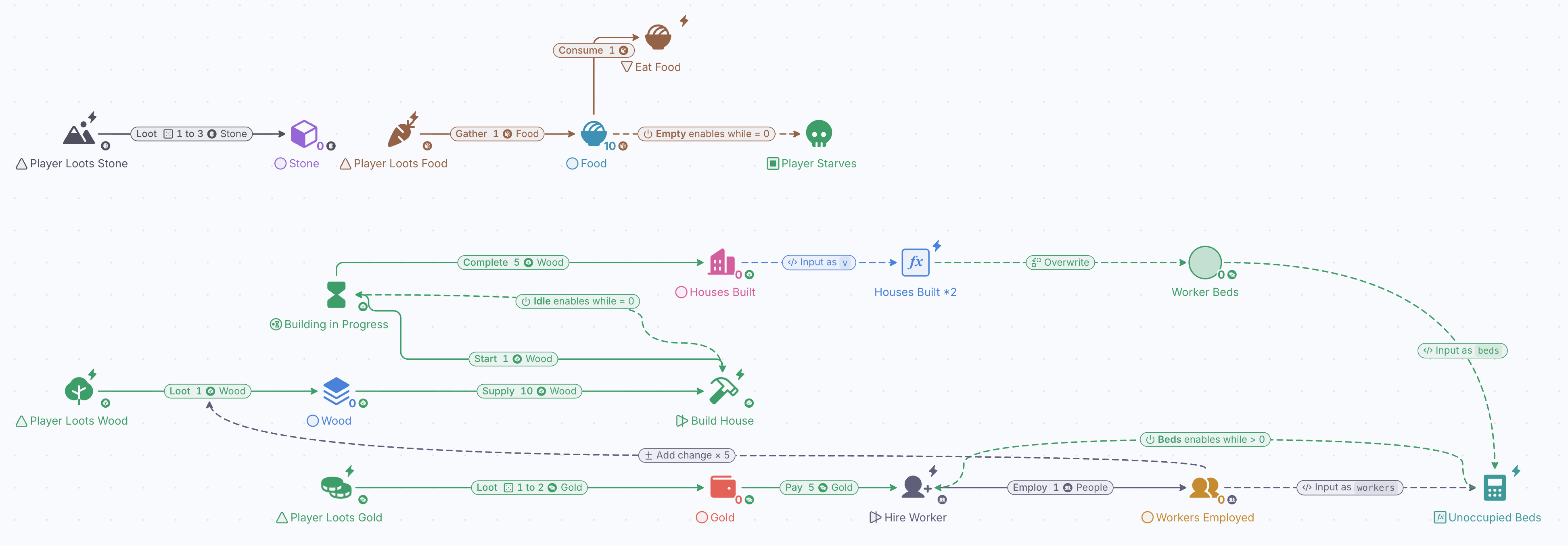
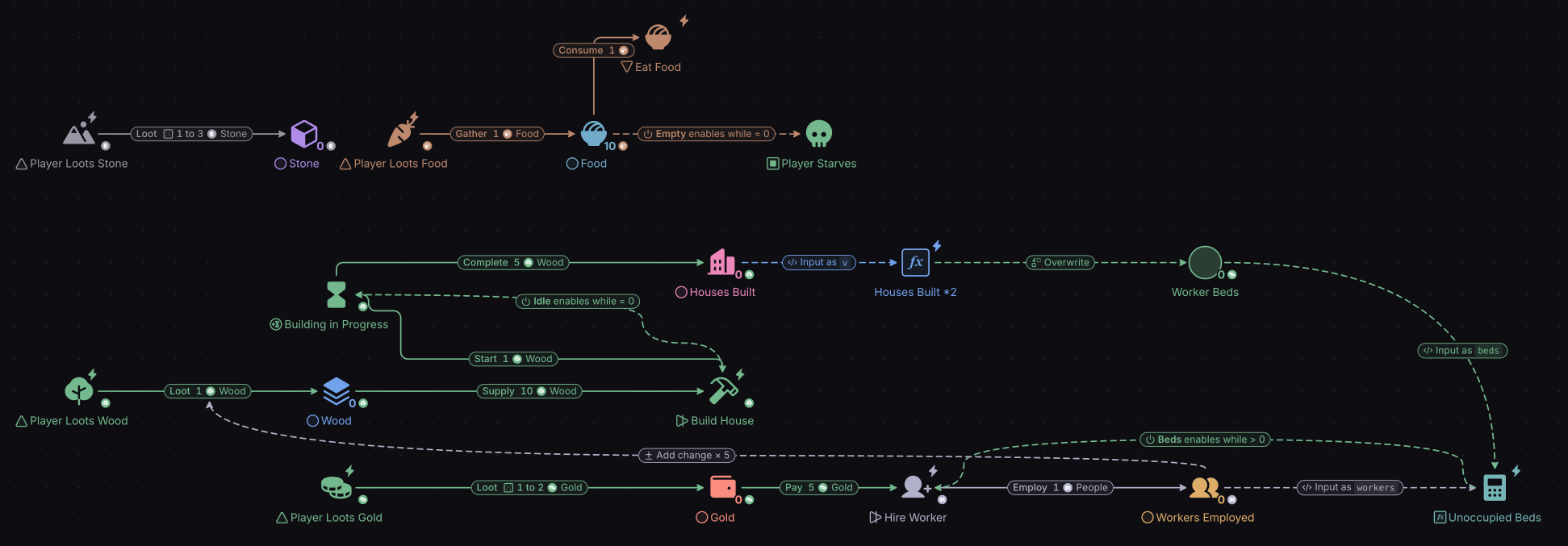
This tutorial is broken up into stages that introduce new components and add complexity over time. We recommend you follow the tutorial in order, though you can always return to specific pages later.
We’ve created a resource management game specially for this tutorial, but the fundamentals are applicable to all crafting mechanics.
Create a new diagram
If you have another diagram open already, open the left rail and click the + button at its top.
In My diagrams, click the + button at the top of the left rail and choose Blank canvas. The other two choices are Build with AI and Start from template.
A blank canvas opens with the name Untitled. Click the title at the top left and type a name. Machinations saves the diagram as you work; if a change cannot be saved, a red “Not saved” note appears next to the title.
01 – Diagram Basics
One of the core actions the player performs in our game is chopping trees and harvesting wood:
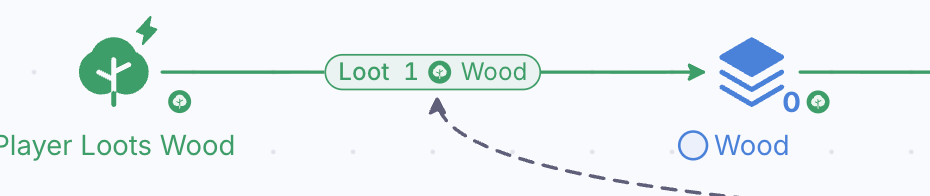
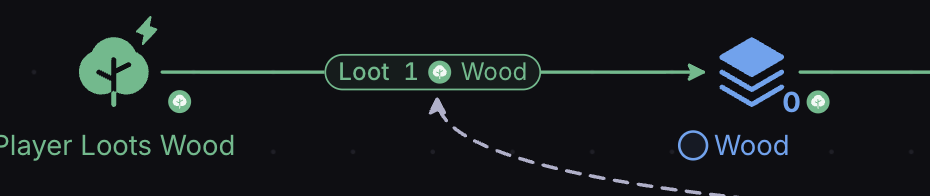
This simple setup models this action. It says “for each time the Player Loots from a tree, they earn 1 Wood.”
The triangular component is called a Source. Sources are resource generators. In this case, the resource generated is wood.
The circular component is called a Pool. Pools are resource holders. In this case, the Wood Pool holds all the Wood the player has looted thus far.
The arrow connecting the Source to the Pool is a Resource Connection. This tells the Source where to send the resources it generates and how many to send. The amount box in the Properties panel defines the amount sent, which is 1 by default.
Placing components
To build the setup above, look at the toolbar above the canvas and hover over one of the symbols: a card shows what the component does and its shortcut.
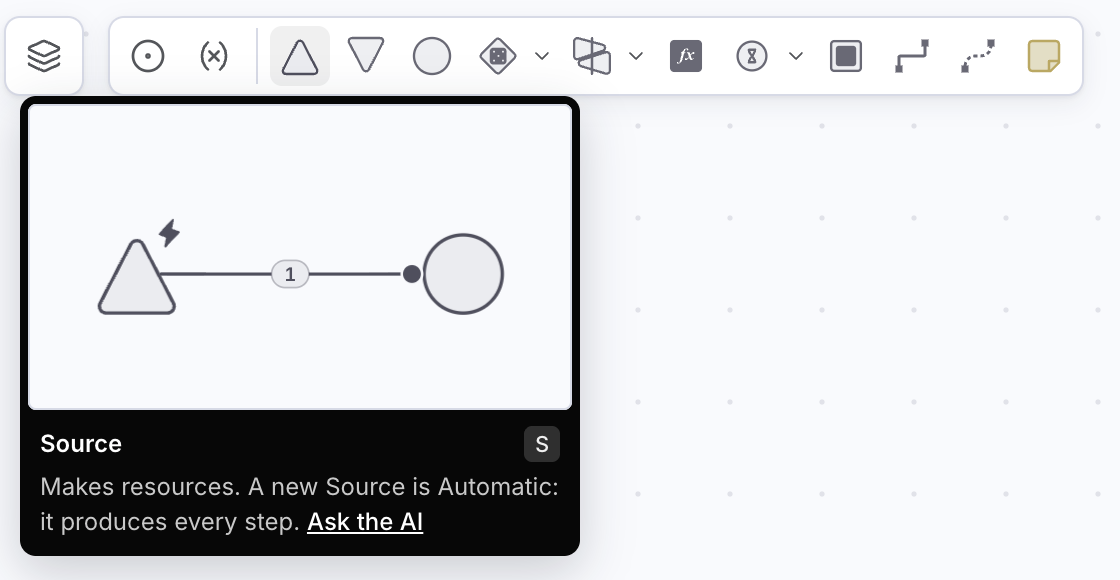
- First, add a Source to the canvas by single-clicking on the Source icon (upwards triangle) in the toolbar or use the shortcut “s”.
- Click on the canvas to place the Source. You can move the Source by dragging and dropping it.
Best Practice: You can also use keyboard shortcuts to create components. A list of shortcuts can be found by pressing F1, or by hovering over each component in the toolbar.
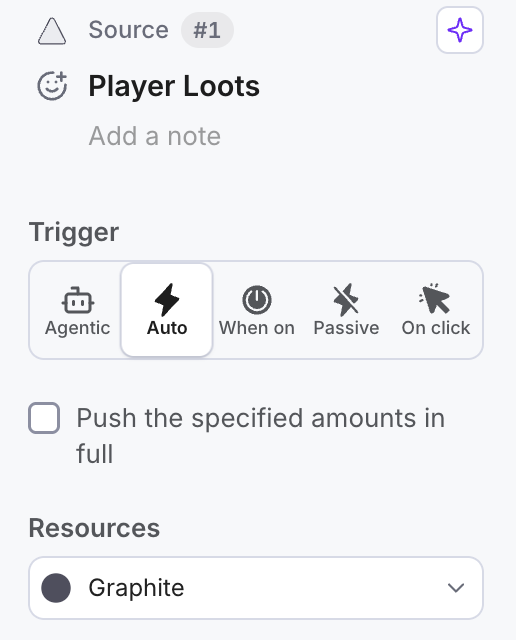
Once placed, the Properties panel on the right will allow you to edit the Source. Changes are committed automatically. A new Source is set to Auto, so it produces resources on every Step.
- Type “Player Loots” into the label at the top of the panel (it reads “Add a label” on a new component) to give the Source a name.
- Select the component and a small floating toolbar appears above it: use it to format the component, including its color, line width, font and text size.
Best Practice: Labeling and coloring components is essential for clarity, especially on larger diagrams.
Continue by adding the Pool.
- Now add a Pool (circle) from the toolbar to the canvas (keyboard shortcut “p”).
- Type “Wood” into the label.
Finally, connect the Source and Pool by drawing a Resource Connection between them.
- Click on the Resource Connection in the toolbar (the elbow arrow) or use the shortcut “c”.
- Click on the Source to define it as the Origin node.
- Click on the Pool to define it as the Target node.
This will create a connection leading from the Source to the Pool.
The component that a connection is pointing to is called the target node. The component at its tail end is the origin node.
Play your diagram
Locate the Playbar at the bottom of the screen and hit Play.

If done correctly, you’ll see resources (in this case wood) flowing from the Source into the Pool.
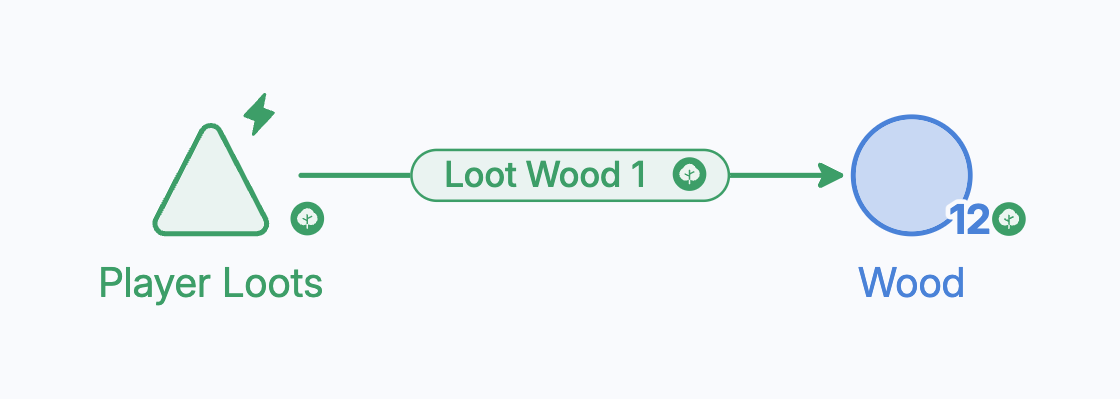
If you’re seeing something similar to the following, it may be because the Resource Connection isn’t attached properly. To reattach it, drag the end of the connection onto the component you want to attach it to, and release when that component is highlighted.
Defining a Step

Machinations is a moving flowchart, and everything happens in Steps. After deciding what you want to model, the next thing you should consider is what a Step means in your diagram.
A step could represent:
- A unit of time – e.g. minutes, hours, or days of gameplay
- A game action – e.g. opening a card pack, performing an attack, or completing a mission
For our diagram, a step will represent a minute of gameplay.
Best Practice: Pick a time that works best for your game and for your purposes. If the player only loots something every ten minutes or so, there’s no point having a step represent anything shorter than ten minutes.
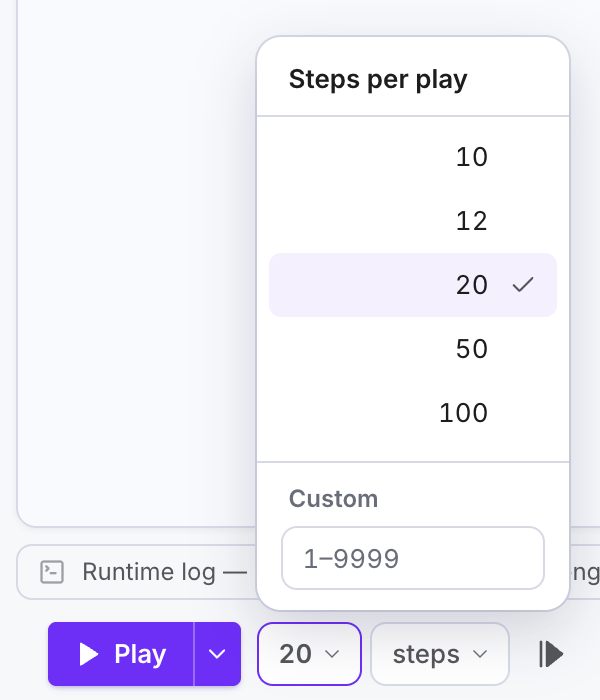
You can change the number of Steps a Play lasts: open the number next to Play and choose 10, 12, 20, 50 or 100, or type your own between 1 and 9999. You can also change the Speed of the animation with the 1× menu.