Level progression
Learn how to create a Machination diagram step by step. Creating a new diagram First, you should create a new diagram. If you have a diagram already open.
Creating a new diagram
First, you should create a new diagram. If you have a diagram already open, follow the next steps:
- Click the + button at the top of the left rail and choose Blank canvas.
- A blank canvas opens with the name “Untitled”. Click the title at the top left and enter the name “Level Progression”.
- Machinations saves the diagram as you work.
If you are in My diagrams, click the + button and choose Blank canvas, then name the diagram as above.
1. Earning Points
In this tutorial, you will build a simple level progression system in Machinations. The player will earn a certain amount of Experience Points by killing enemies every minute. These points can then be used to level up for a certain cost that will increase depending on the player’s level.
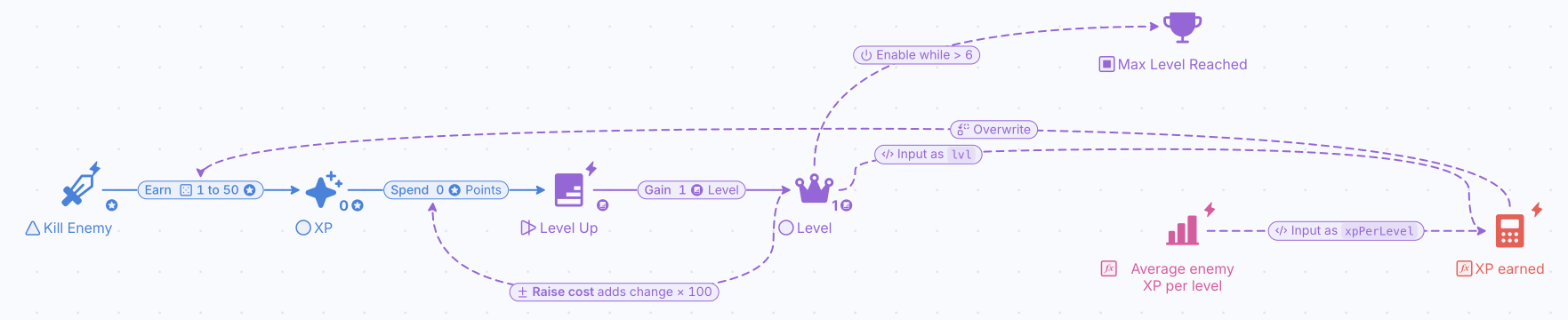
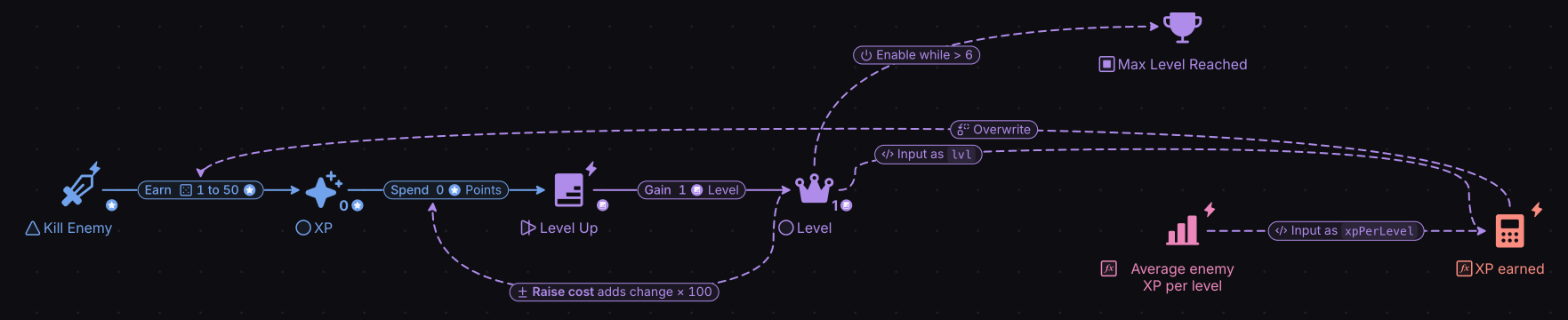
Storing XP
To store the amount of XP Points, you need to create a pool. Pools are used to collect and store resources.
- Select the Pool icon (or press p) from the toolbar.

- Click anywhere in the canvas to place the pool in that position.


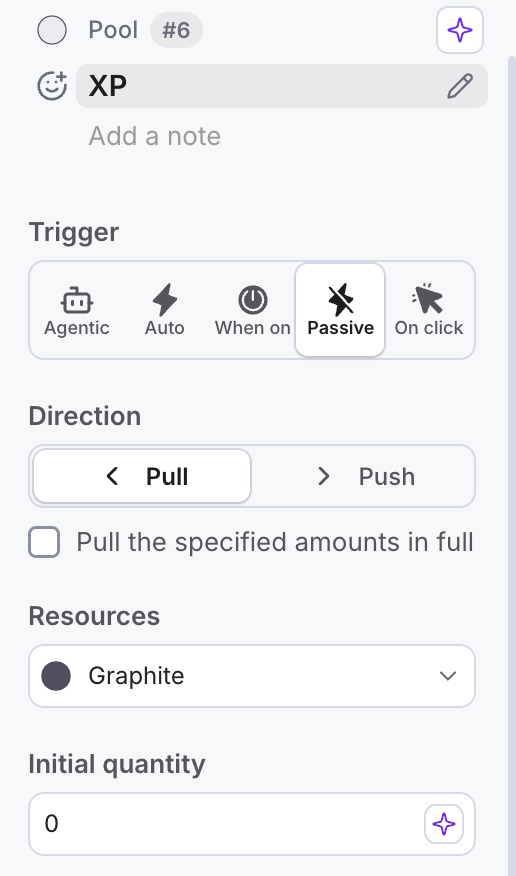
- To change the name of the pool, select it with your mouse, in the Properties panel to the right of the screen, click the name at the top of the panel (it reads “Add a label” on a new component). Enter “XP” and press “Enter” to assign the name to the pool.
The player will earn experience points every minute (every time the player kills an enemy). △ Sources generate an infinite amount of resources. So, let’s add a Source to generate XP:
- Click the Source icon in the toolbar or use the keyboard shortcut “s”.

- Click on the canvas to place the source to the left of the “XP” pool.
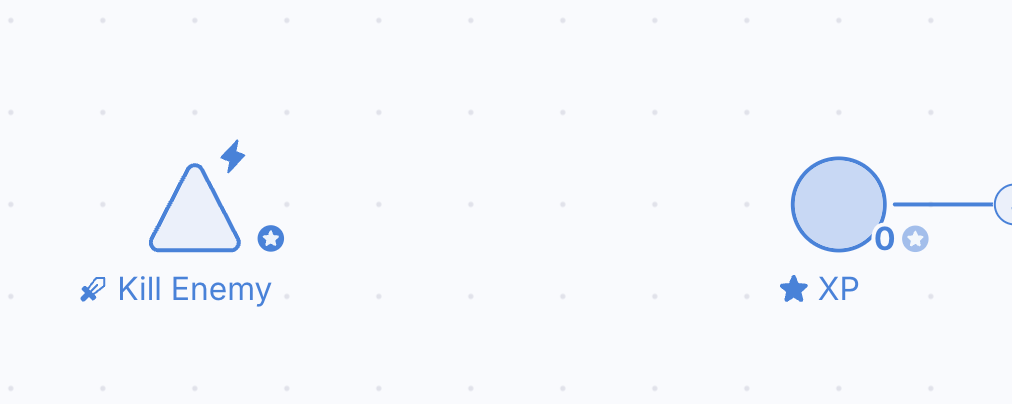
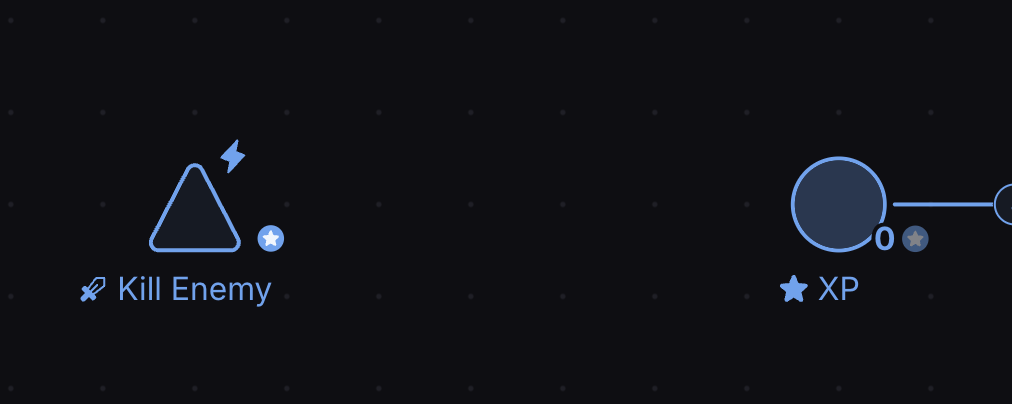
- Set the name of the source to “Kill Enemy”. You can do it in the “Properties” panel or just press “Enter” and input the name.
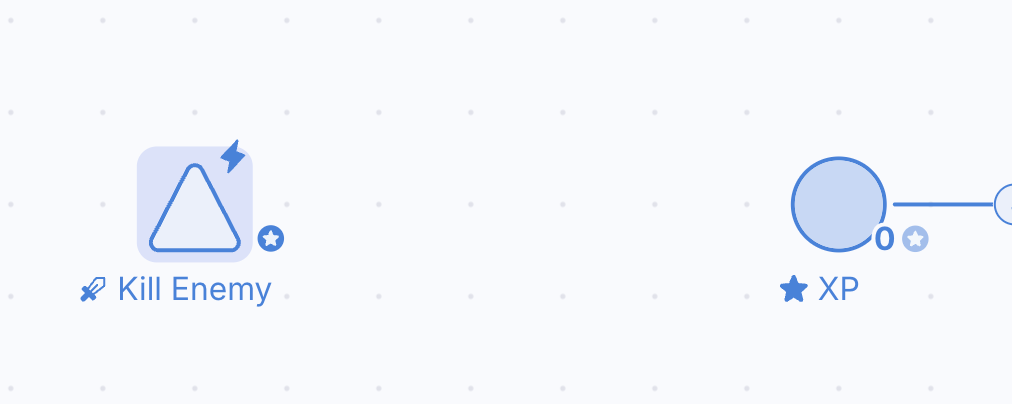
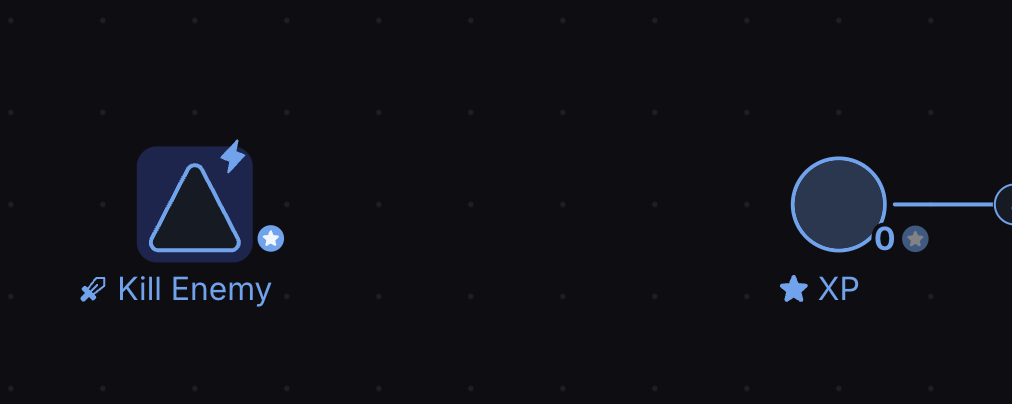
- Hit the “Play” button and see how the diagram works. Why is the XP pool not storing any points? This is because the XP points are not being transferred from the source to the pool. You need to add a Resource Connection.
Tip: It is not necessary to label your components, but it will make your life much easier once your diagram becomes bigger and more complex.
The player will earn 50 experience points every minute, so you need to connect the source and the pool with a Resource Connection.
- Select the Resource Connection from the toolbar or use the keyboard shortcut “c”.

- Click on the source to choose it as the origin of the connection.
- Click on the pool so that the connection will be created between the two components.
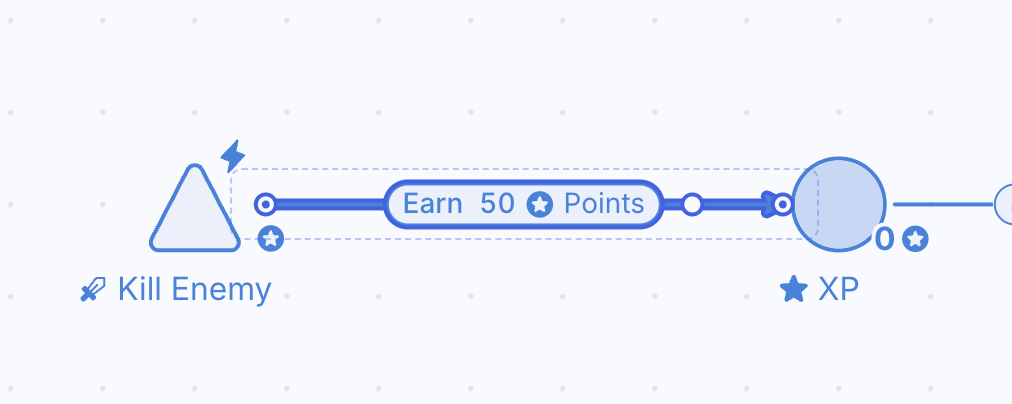
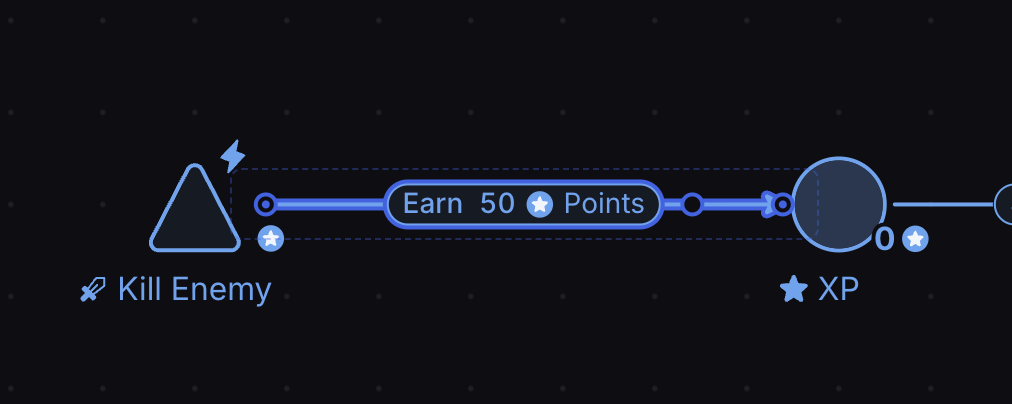
- Now, you must allow the player to earn 50 experience points for enemy killed. Select the Resource Connection, and in the “Properties” panel, and type the value “50” in the amount box under Type (number). Press “Enter” to confirm. You will see that the Resource Connection shows “50” in the canvas.
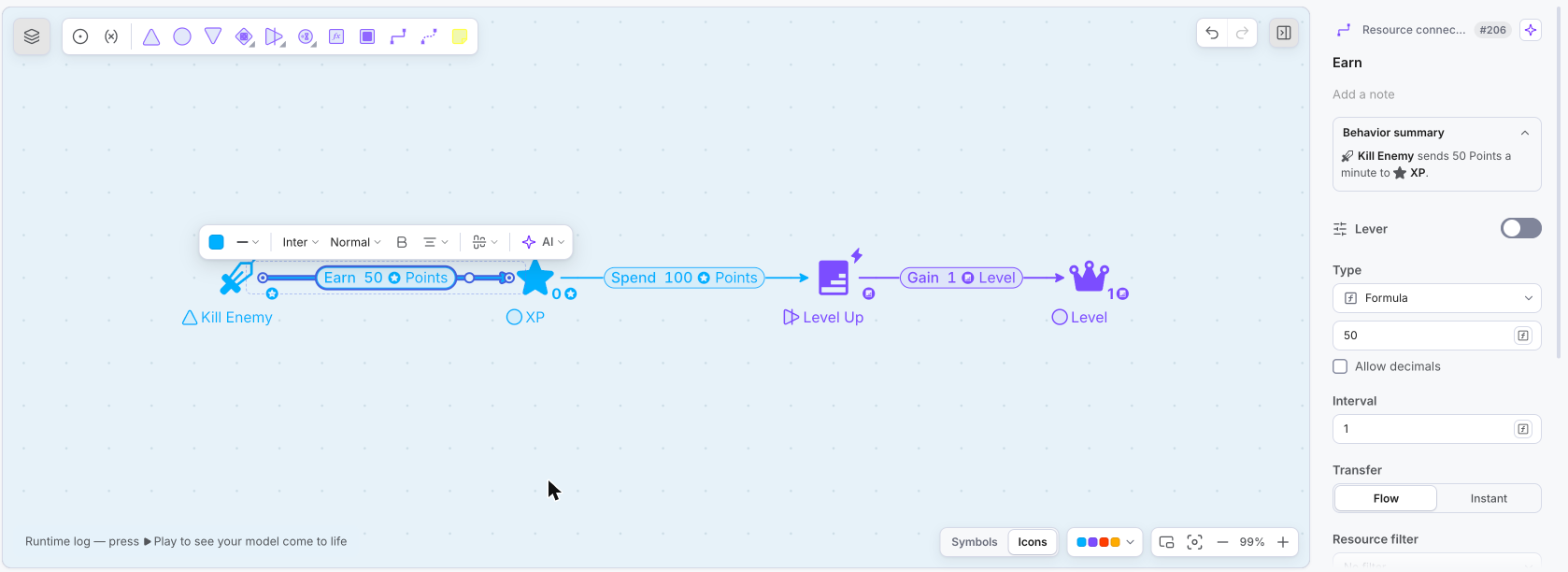
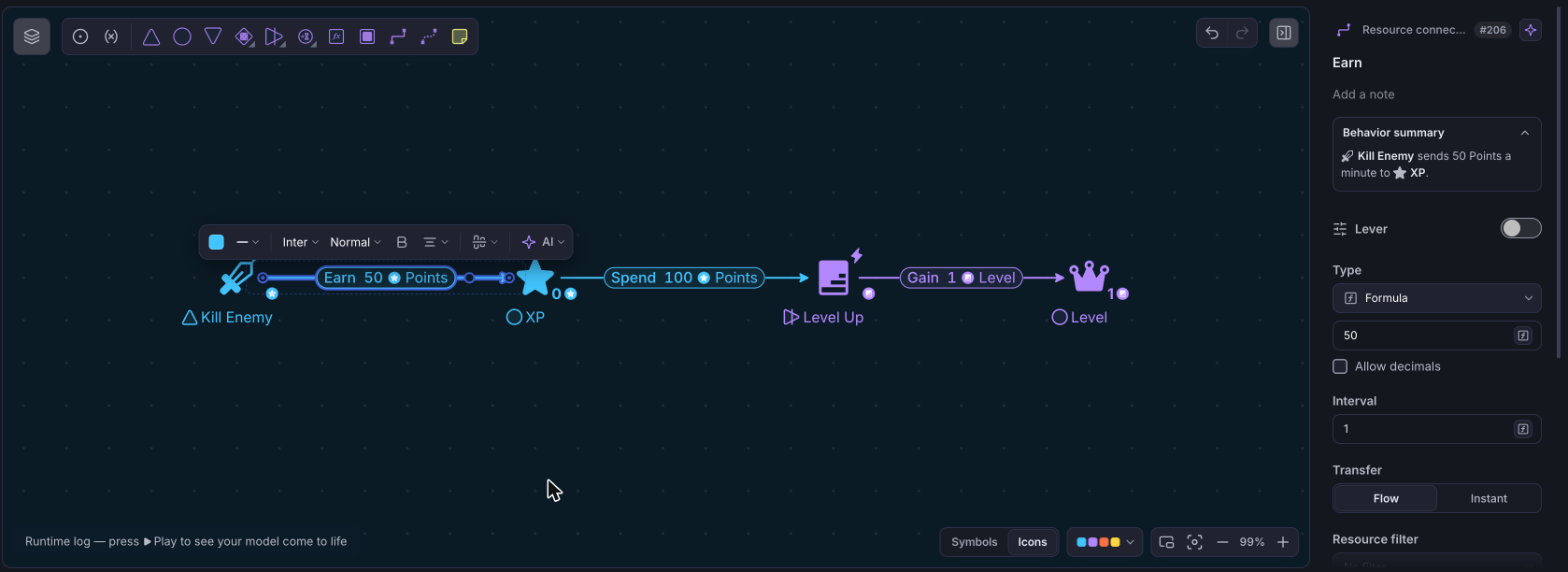
By default, Resource Connections transfer whole resources (integer values), so avoid decimals!
If a decimal value is present in your Resource Connection formula, the connection rounds it to the nearest whole number. To transfer fractions as they are, switch on Allow decimals in the connection’s Properties panel.
- To test the diagram, press the “Play” button and see how experience points are transferred from the “Kill Enemy” source to the “XP” Pool. The “XP” pool will start increasing its value as XP flow from the source.
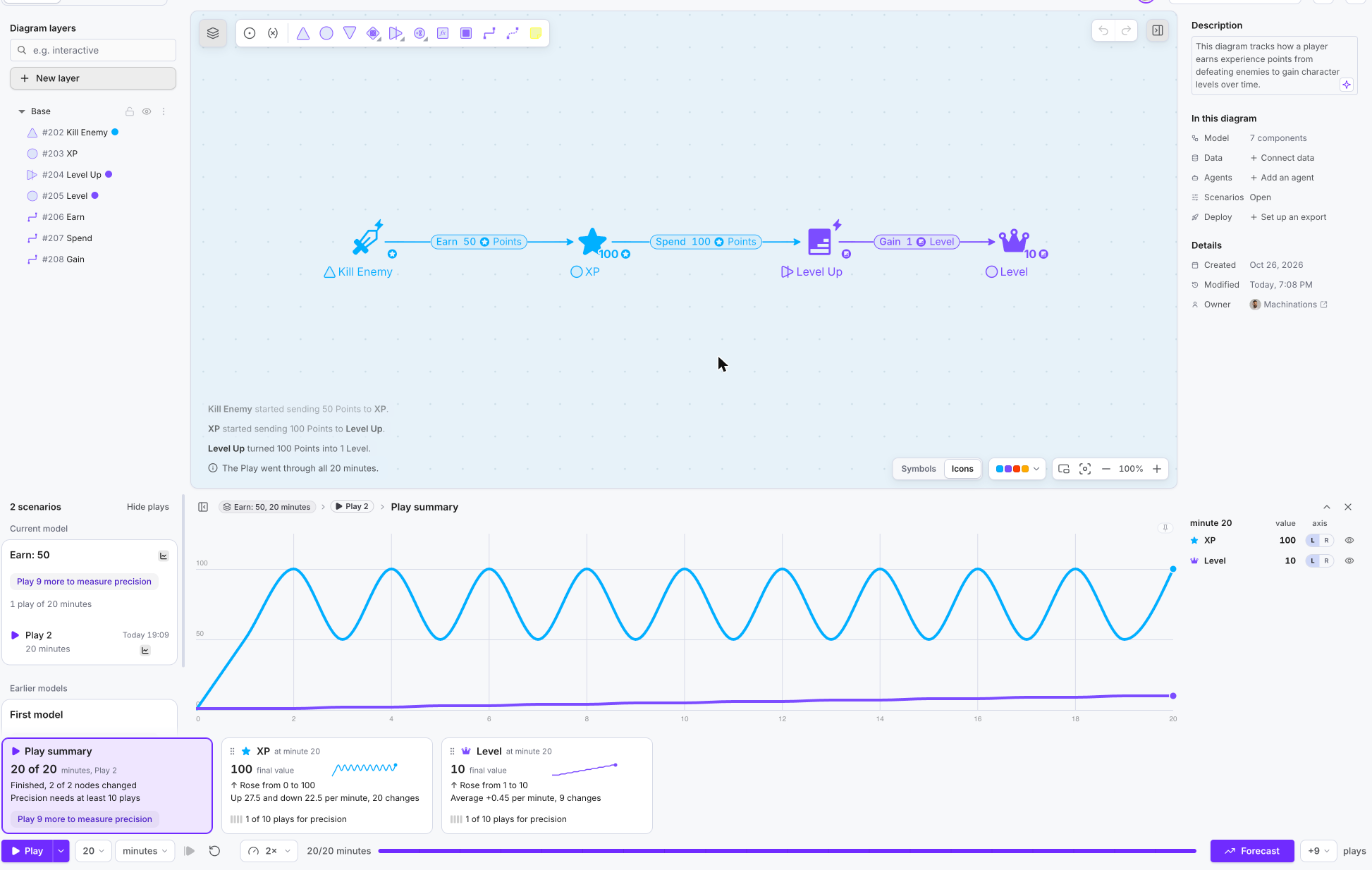
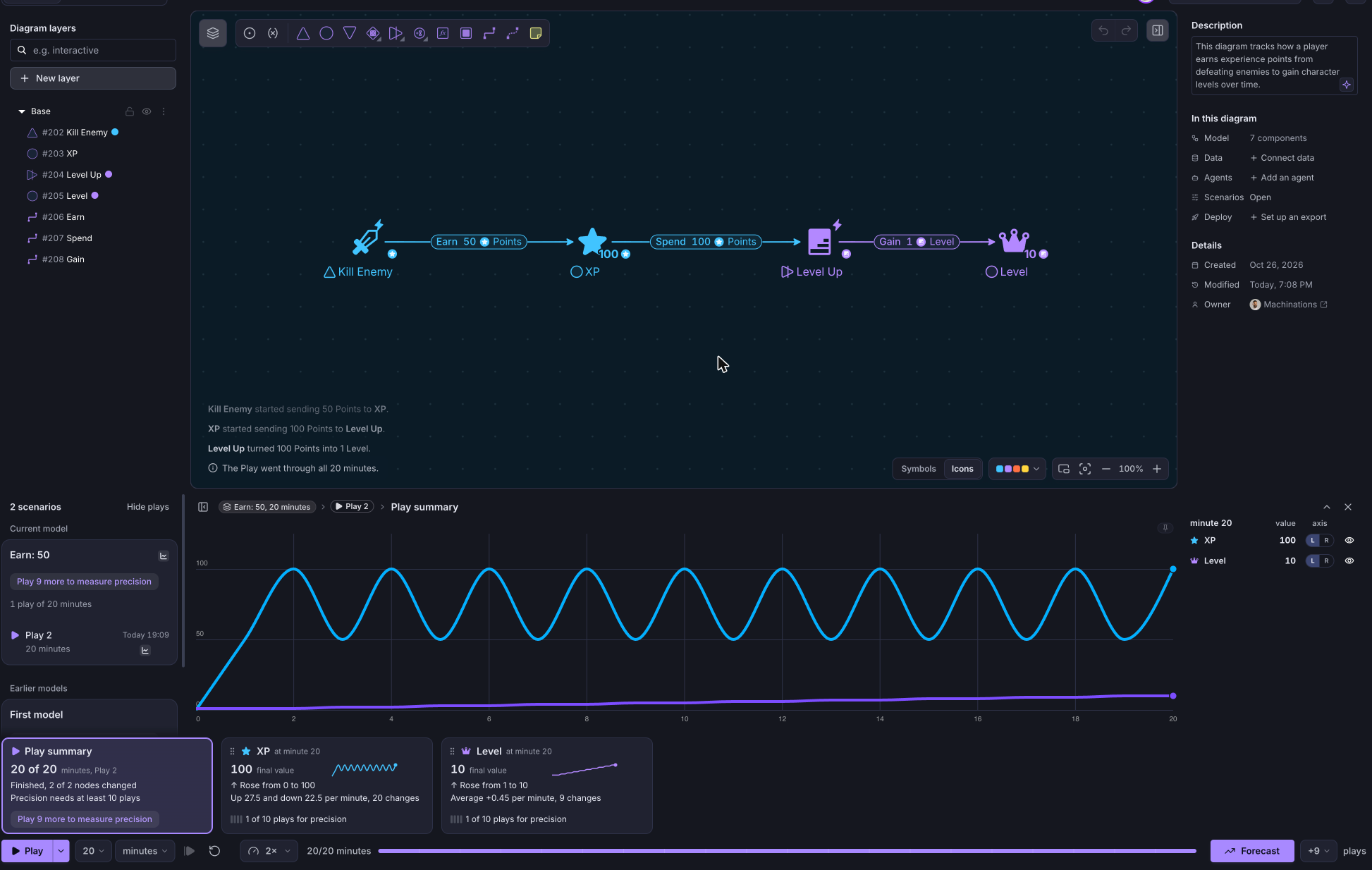
- You can see how the game works minute by minute by pressing the button “Step” consecutively.
Selected models to Play and remix: Selected reward system models.