Custom Resources and Filtering
Custom resources give tokens a visible meaning in a model. Instead of an unnamed unit moving between nodes, readers can see what is being counted and where it goes.
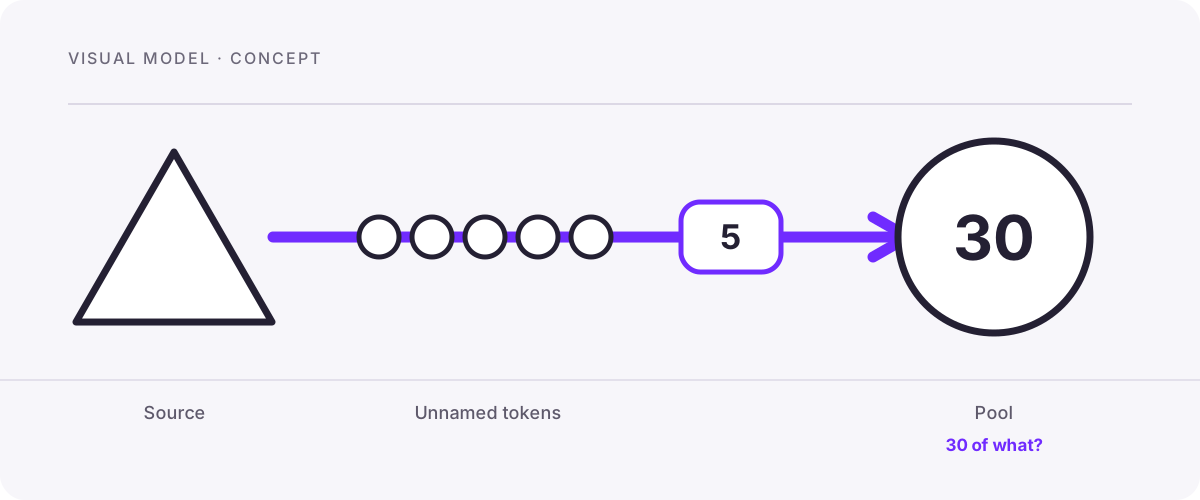
Custom resources can represent currencies, goods, population groups, inventory items, or game-specific tokens. Give each type a distinct name and icon so the movement of resources is easier to inspect in a diagram. Here are examples across different domains:
Currency, coins, payments, profits, tickets and scarce assets.
Wood, steel, gold, oil, bricks and yarn.
Damage, health, power, agility, hits and defense.
Chances, chests, spins, rarities, failures and successes.
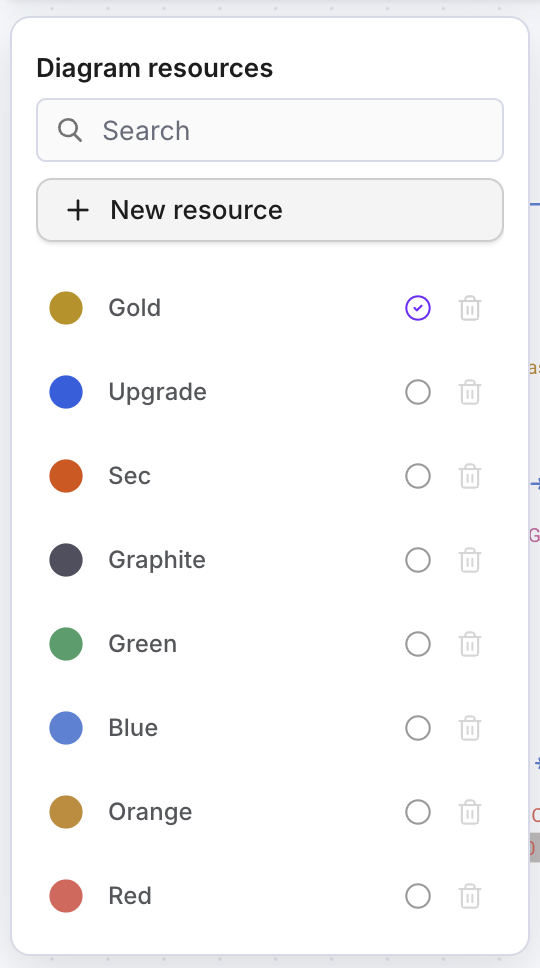
Create a diagram resource
Create a named resource from the current editor toolbar:
- Select Resources in the editor toolbar.
- In the Diagram resources panel, select New resource.
- Enter a name. Names are case-sensitive and must be unique in the diagram.
- Choose an icon from the searchable library. You can browse by General, Games, Business, Tokenomics, Economy, Nature or Teaching.
- Choose a resource color and optionally add a note.
- Optionally select Set as default resource so new components use it, then select Add.
Resource names are case-sensitive and must be unique within a diagram.
Use a diagram resource
After creating a resource, select a compatible node and choose the resource in its properties. The same named type can be used across several nodes in a diagram.
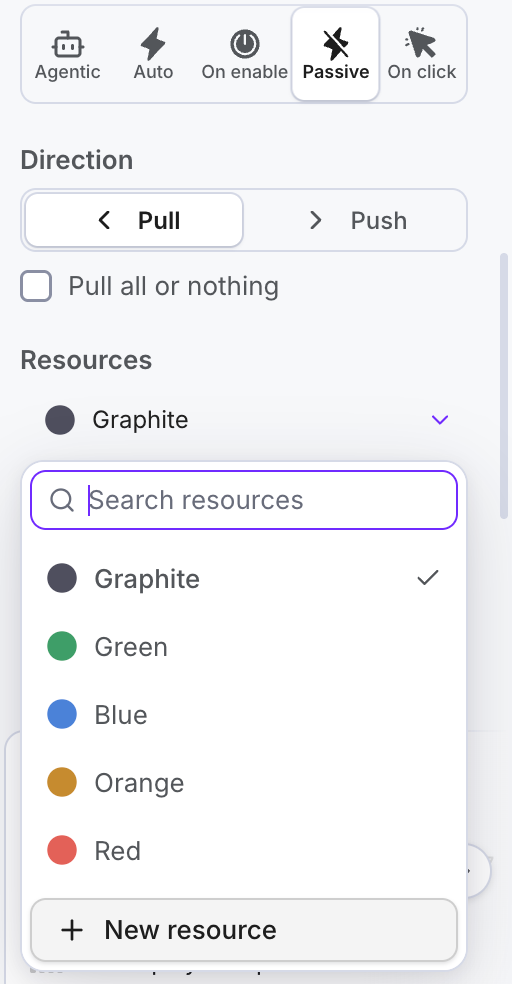
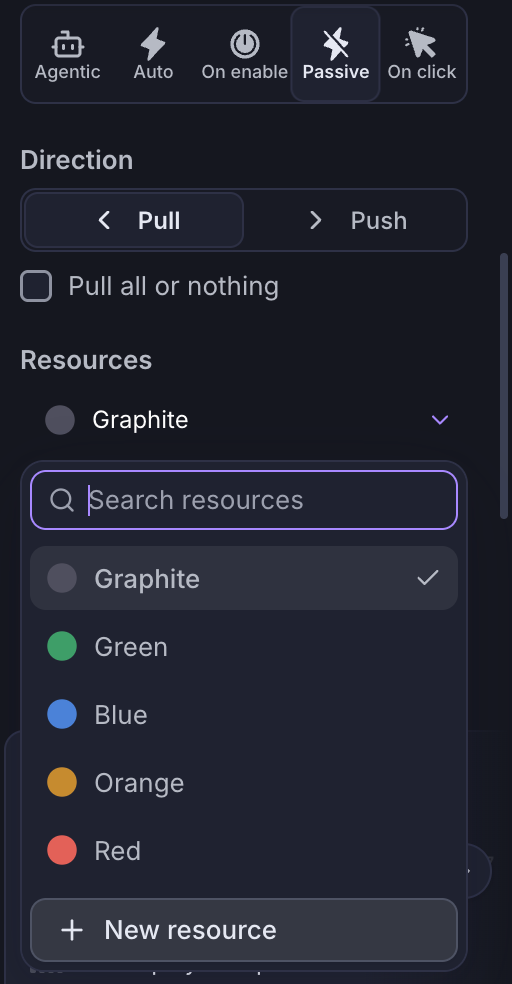
Sources generate named resources, Pools store them, and Converters turn one type into another.
Generate resources with Sources
A Source creates a selected resource type when it activates. Use one to model coins, workers, health points or materials entering a system. The amount and timing depend on the Source and connection rules.
For example, one Source can add workers to a staffing model while another adds materials to its production flow.
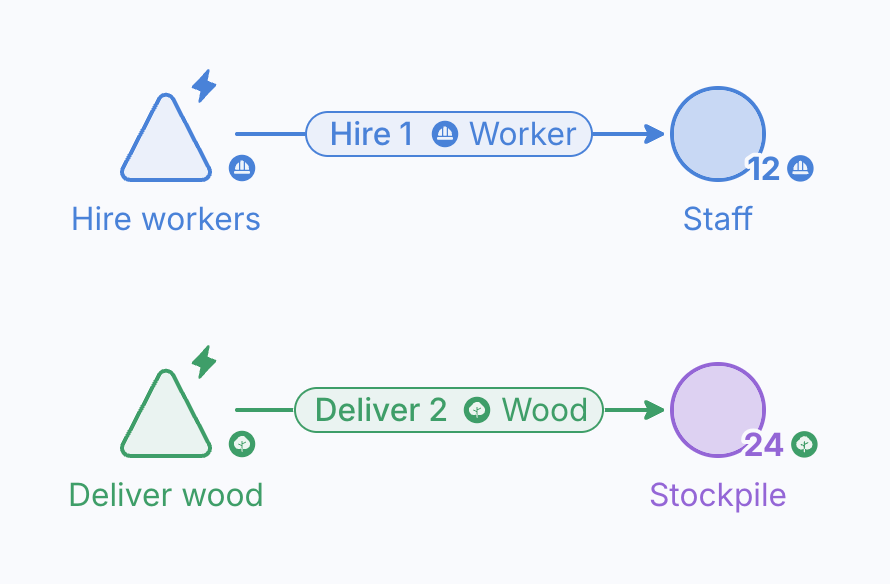
In the example, each Source generates one selected resource type (Worker and Wood). Add another Source when a second type needs its own entry point.
Store and track resources in Pools
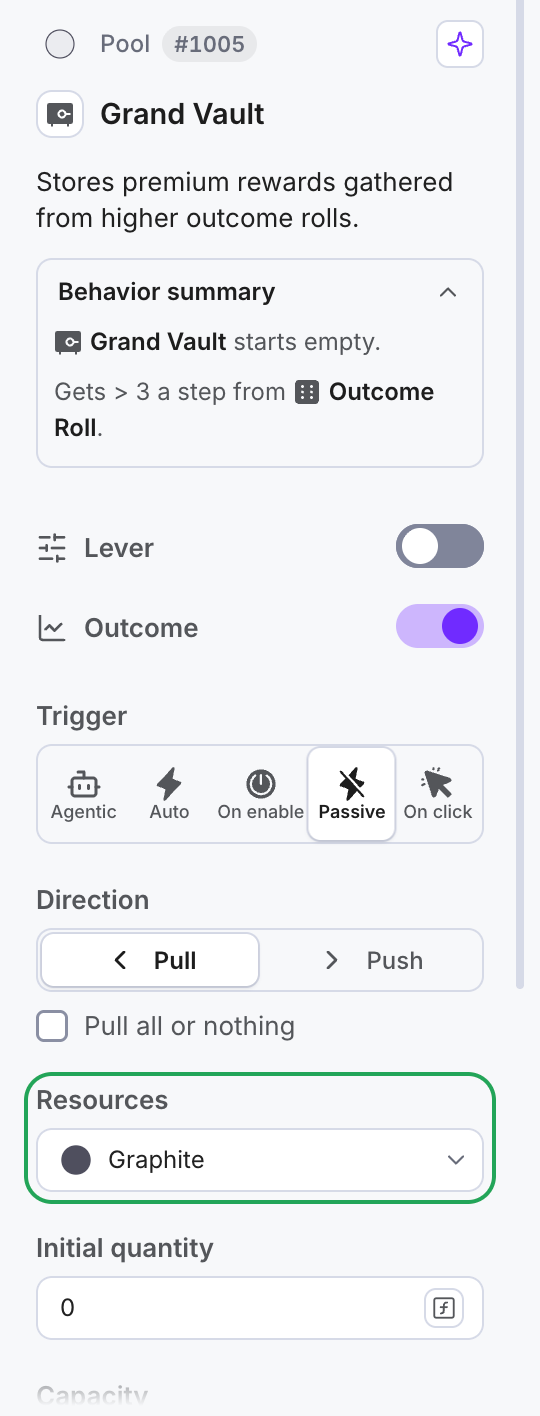
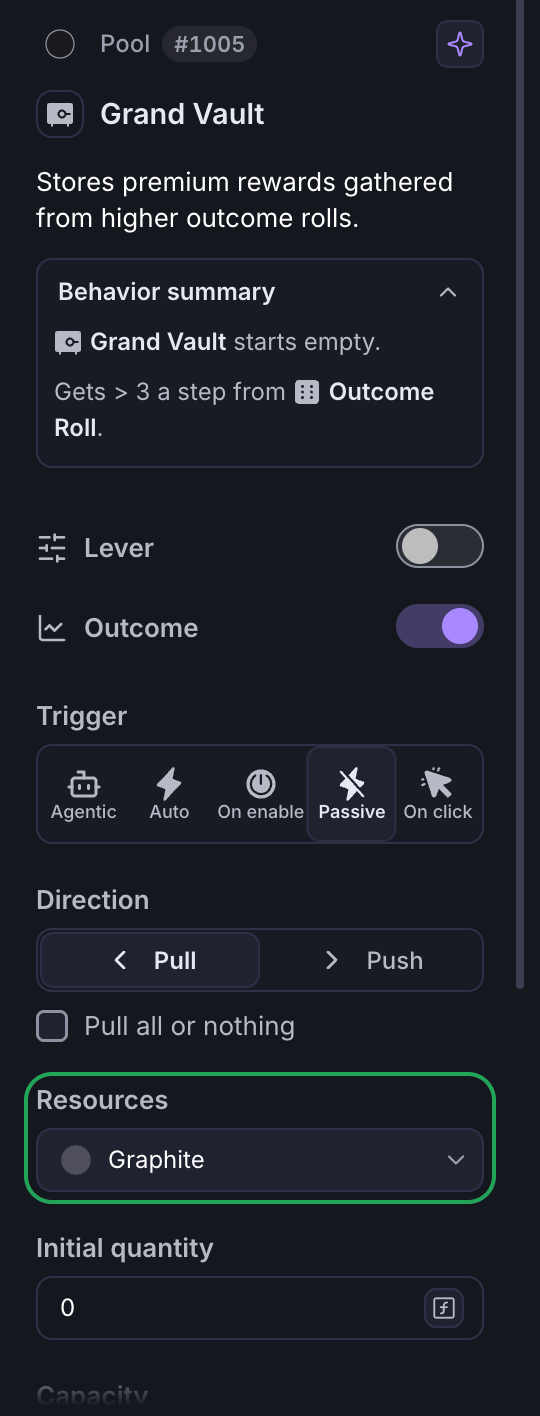
Setting the Diagram Resources for a pool will apply the selected type only for the Initial amount of resources.
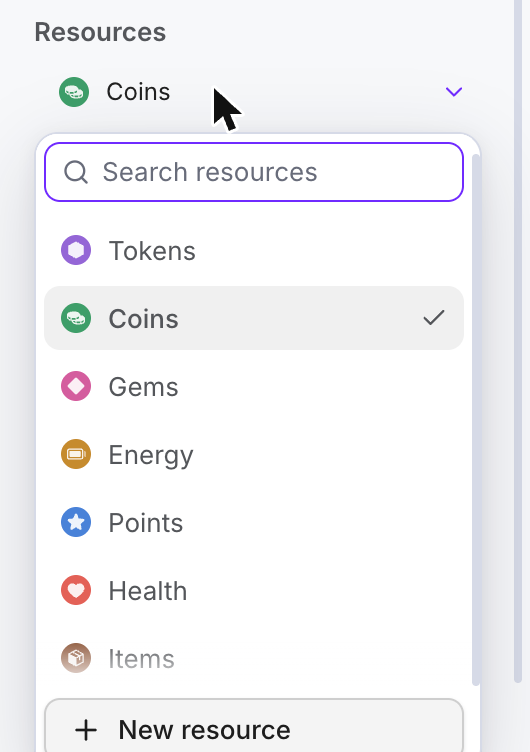
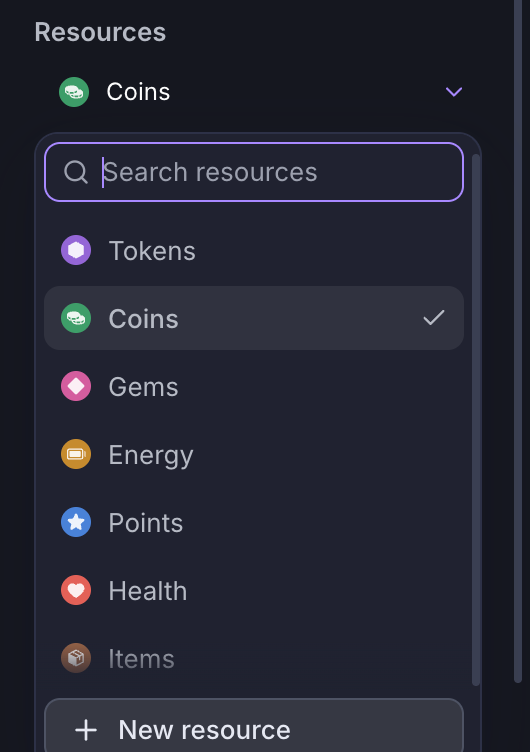
A Pool can contain several named types at once. A card deck can hold four suits, an inventory can hold wood and steel, and a workforce Pool can contain different roles. The example below shows this behavior: a Pool of Coin bags and a Pool of Coins, each with its own resource type.
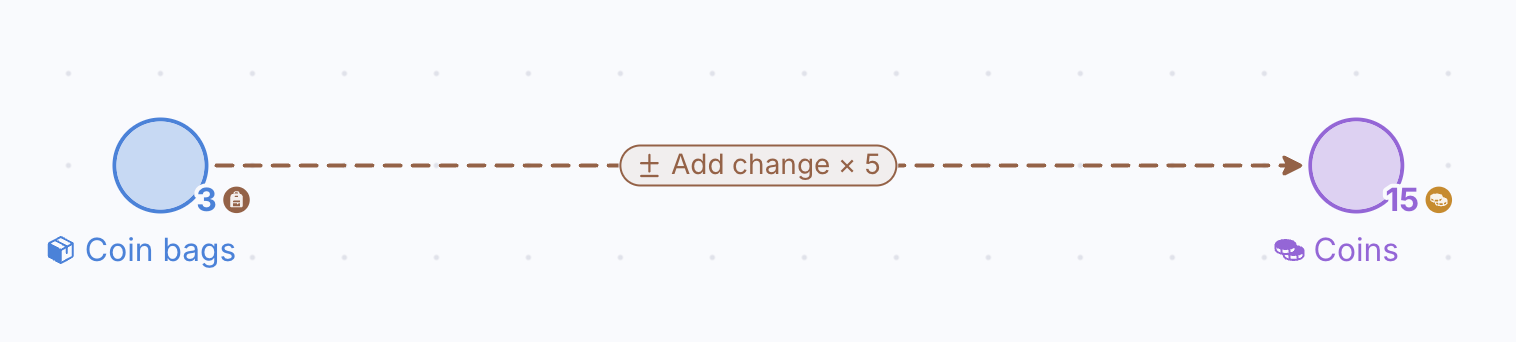
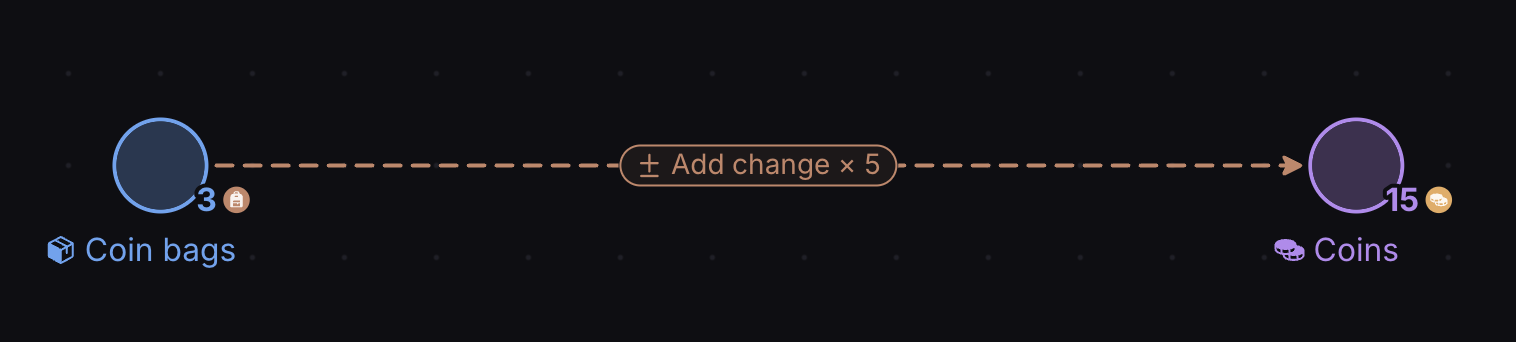
Resources added to Pools using State Connections Modifiers will create resources based on the initial resource type selected in the properties panel.
In the example below the Coins pool has 0 initial resources but 5 new coins are added for each Coin Bag in the first pool.
Change resource types with Converters
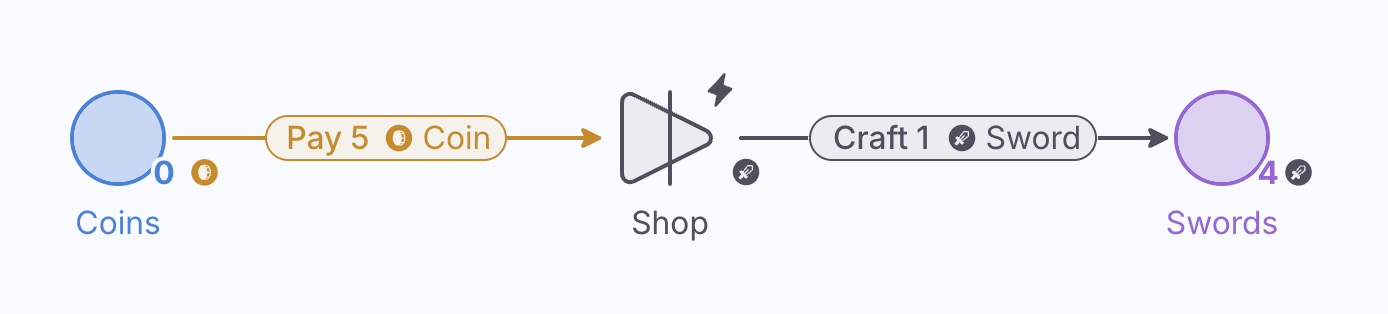
A Converter consumes an input resource and creates an output resource. Use one to model a shop exchanging currency for goods, a crafting process turning raw materials into finished items, or an advancement system spending experience points to award a level. The input and output types remain visible in the diagram.
Filter resources by color
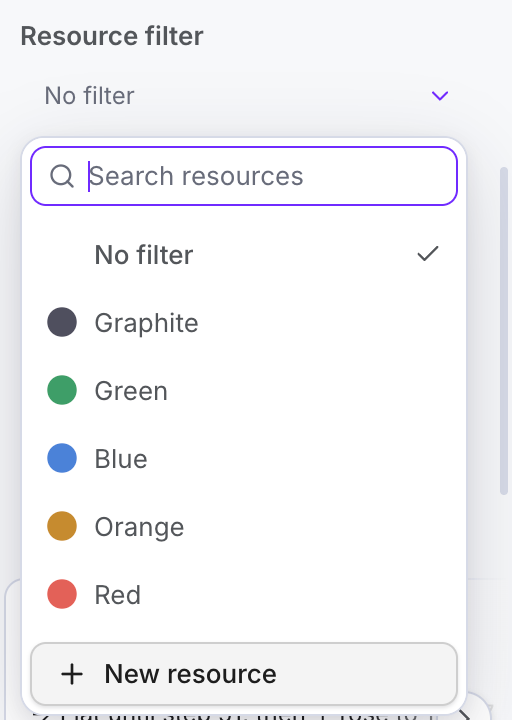
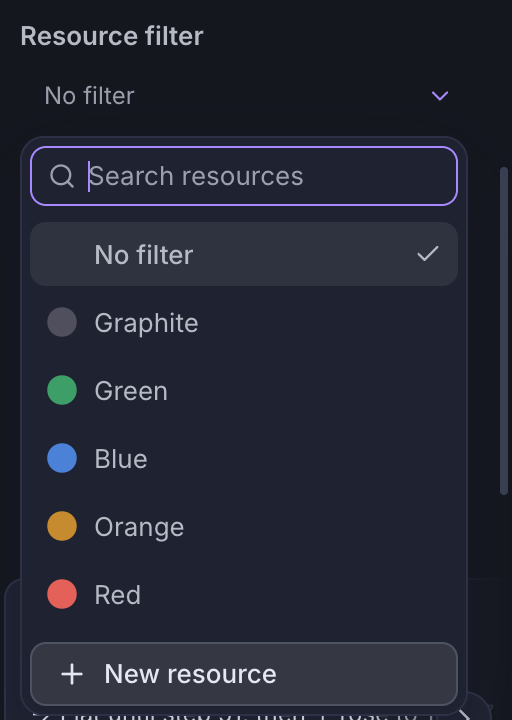
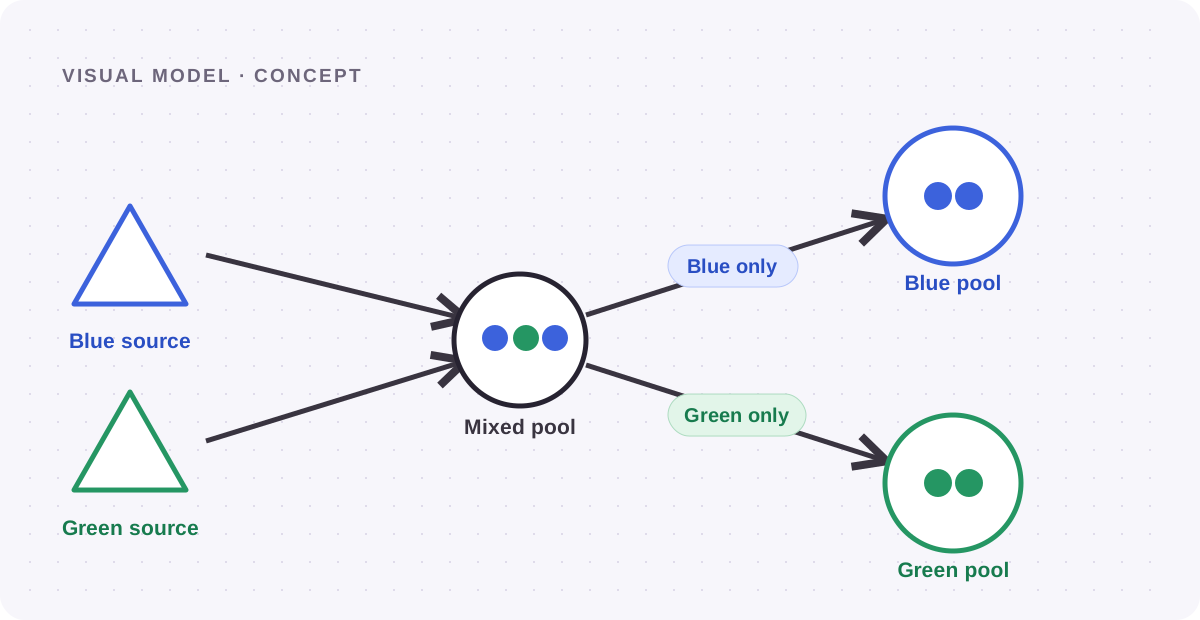
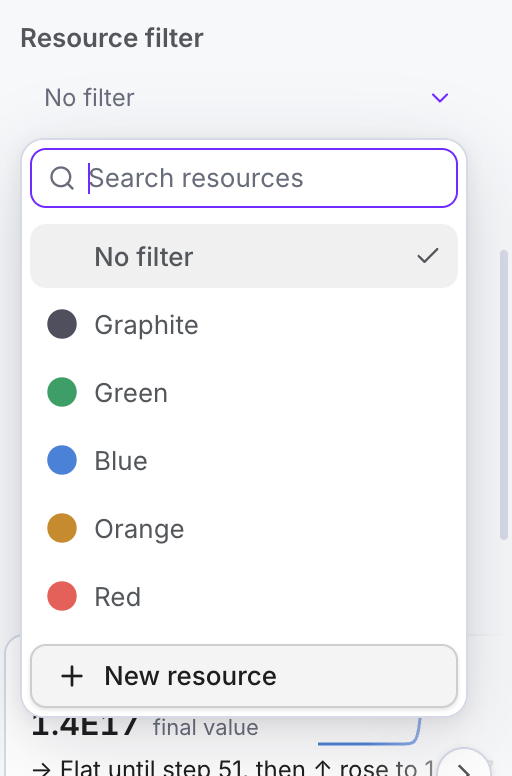
A Resource Connection can filter by resource color. When filtering is enabled, it moves only resources of the selected color. Open the connection’s Properties panel and choose the resource in Resource filter; the menu lists None and every resource of the diagram, with a search box on top.
In the example below, blue and green resources enter one Pool. Each outgoing connection accepts only its selected color and sends those resources to the matching Pool.

State connections and resource colors
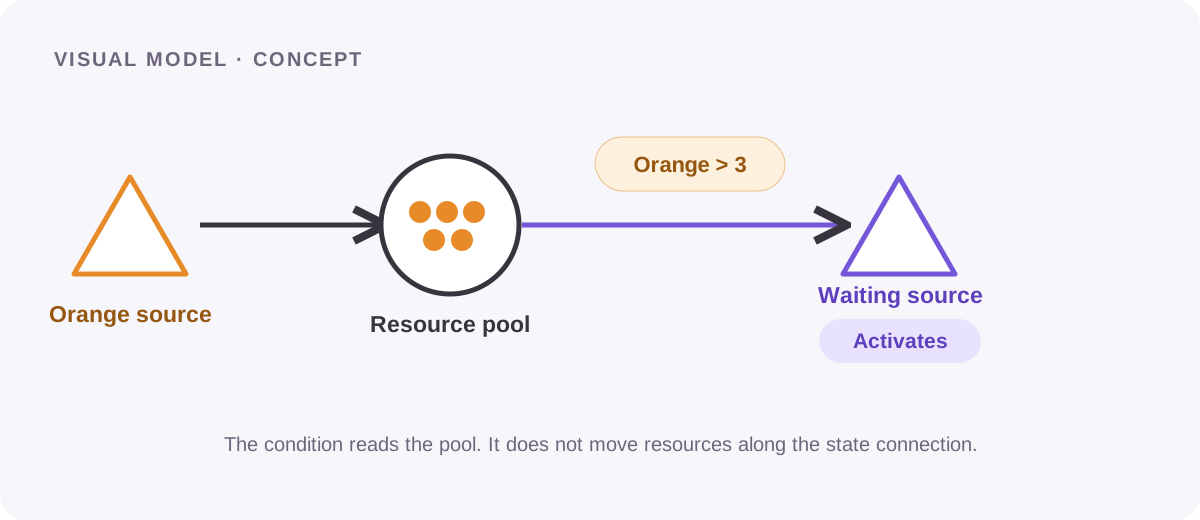
State Connections will respond to Resources based on their color similar to Resource Connections.
Once the filter is enabled, the formula of a State Connection will only be executed if a Resource with matching color passes through a Gate or Pool.
In the example below, the State Connection will only trigger the Waiting Source if the Pool to the left contains more than three orange Resources.